Hi everyone!
So today, I’m gonna have a look back at my original project concept, and see what’s happened with it. To be honest, I’m expecting to see some changes, but let’s see:
Project Concept:
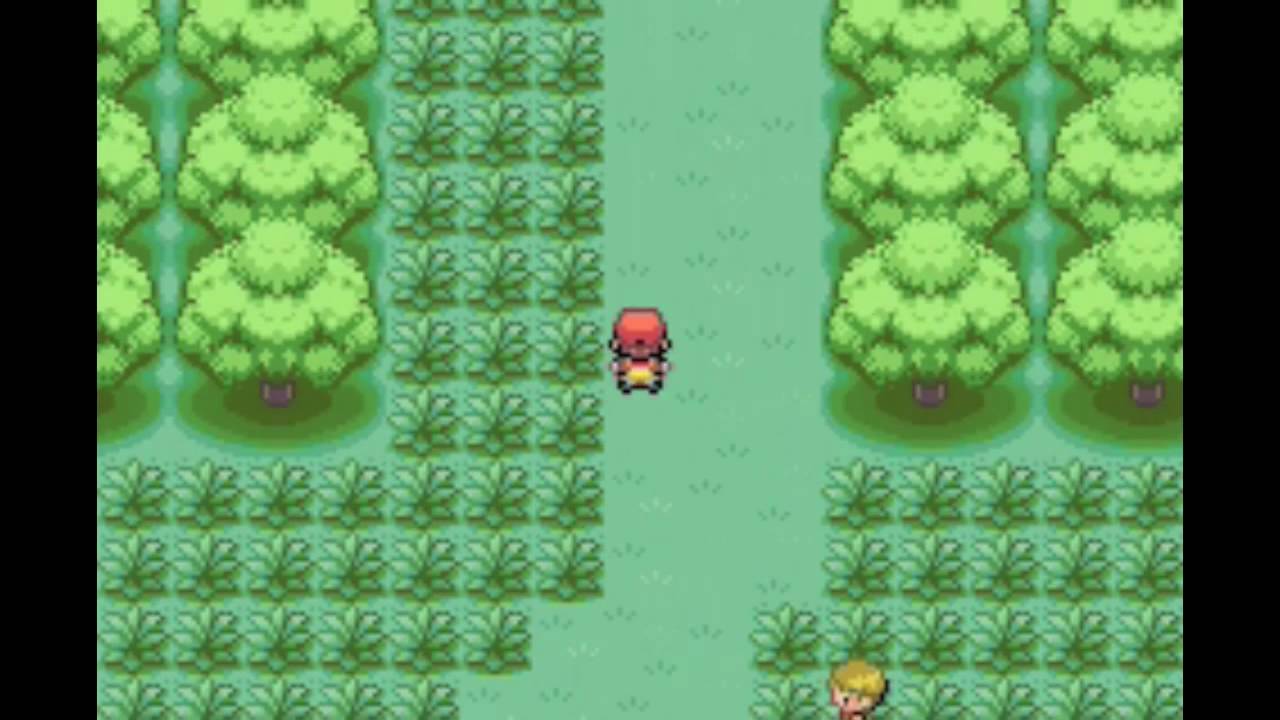
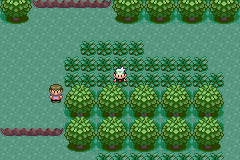
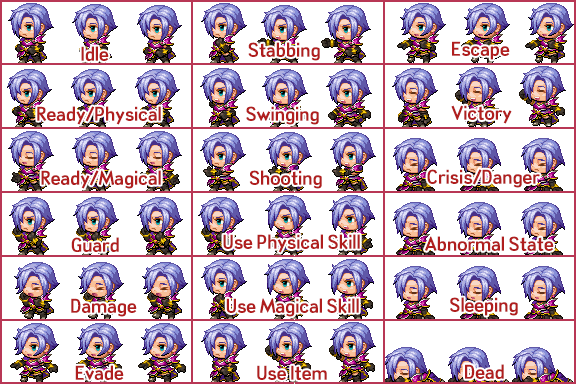
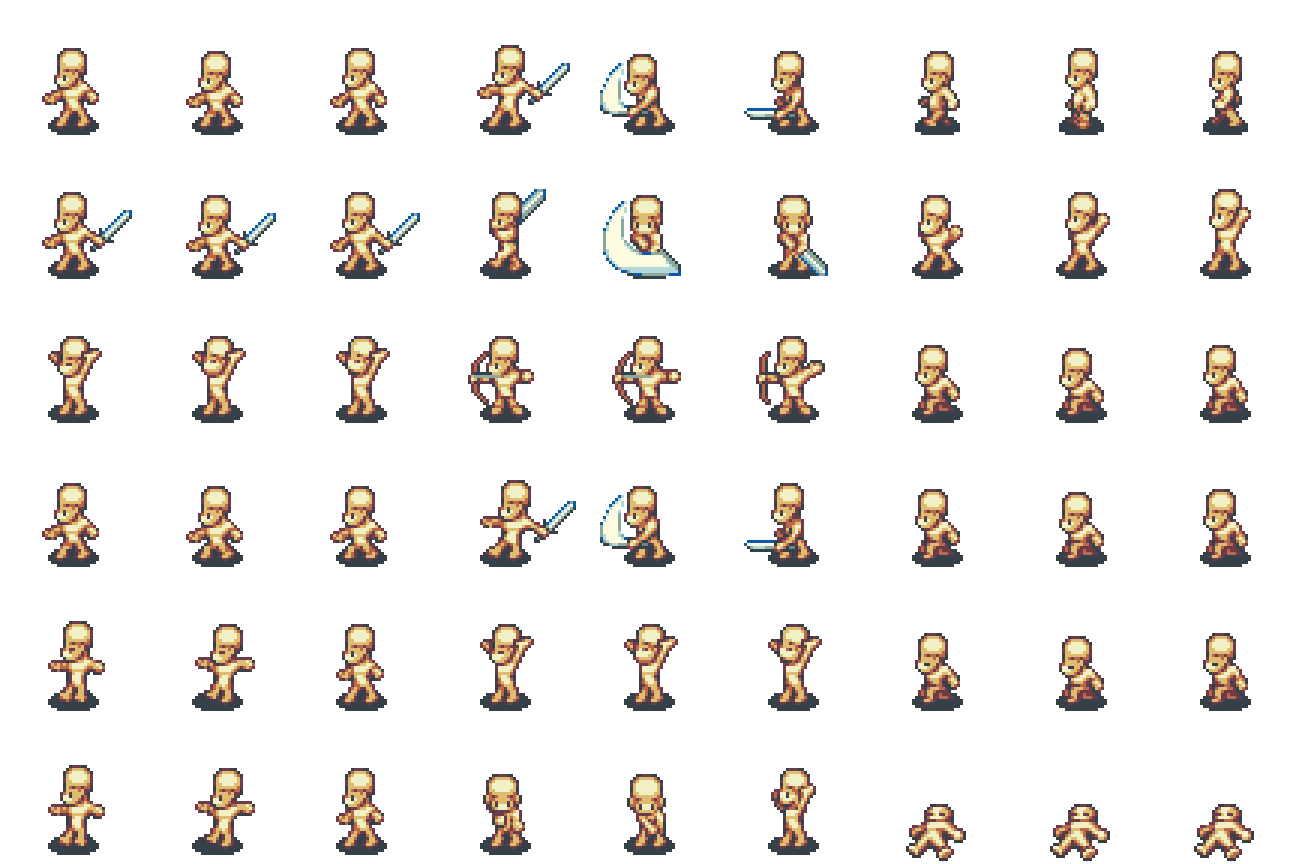
“Based on my Pre-Production research, the aim of the project is to create a Japanese-style Role-playing Game inspired by games such as Final Fantasy, Dragon Quest, and Fire Emblem. I am intending to use a 2D 16-Bit Pixel Art style, reminiscent of games released during the 1990’s and early 2000’s. Typically, JRPG’s have complex plots of epic proportions, so I intend to create a demo of my game, which will consist of the beginning of the story. I am also planning on using a medieval-inspired fantasy setting for this project, which is a standard trope of the RPG genre as a whole. Although there are common conventions in the JRPG genre, I will also be adding some additional features, such as a custom battle system.“
- This first section of the concept seems to be in order. I mean, I’m making a JRPG. I’ve added a slightly customised battle system, so that part’s there. And I am using a 16-bit pixel style. So good so far. Oh, and I’ve looked at several Final Fantasy games, which was my primary source of inspiration for this. So again, done.
“I’ll be looking at historical sources on medieval history, as well as fantasy literature and other RPG’s to provide context for this project. There will also be visits to appropriate medieval sites such as castles, to provide visual and contextual references. I will also need to perform an audience profile, to identify my target demographic. For all of my research, I will be using a wide variety of secondary research media, such as books, podcasts, videos, and games. I will also be using various primary research methodologies and techniques, such as surveys, focus groups, and interviews.“
- Ok, this part has suffered. I haven’t been able to visit any medieval sites at all. The audience profile hasn’t been done either. I have been looking at existing games though. So all in all, ONE THIRD of this section’s been done. That is not good at all. Also, when it comes to research techniques, I’ve only really been doing secondary research. I tried some primary, but it didn’t come to anything. To be honest with you, I believe that no-one really cares about my project, so trying to get any primary research sources is going to be a strain.
“The three phases of this project are Pre-Production, Production, and Post-Production. In the Pre-Production phase, I will be compiling my research and using that to create a variety of material on how I’m going to create my game, and what I’m going to include or exclude from the project. During the Production phase of the project, I will actually be creating and modifying assets, as well as developing the playable section of the game. Once I have completed the Production stage, I can move onto Post-Production, during which I’ll be finalising the demo and creating the exported version ready to be presented.“
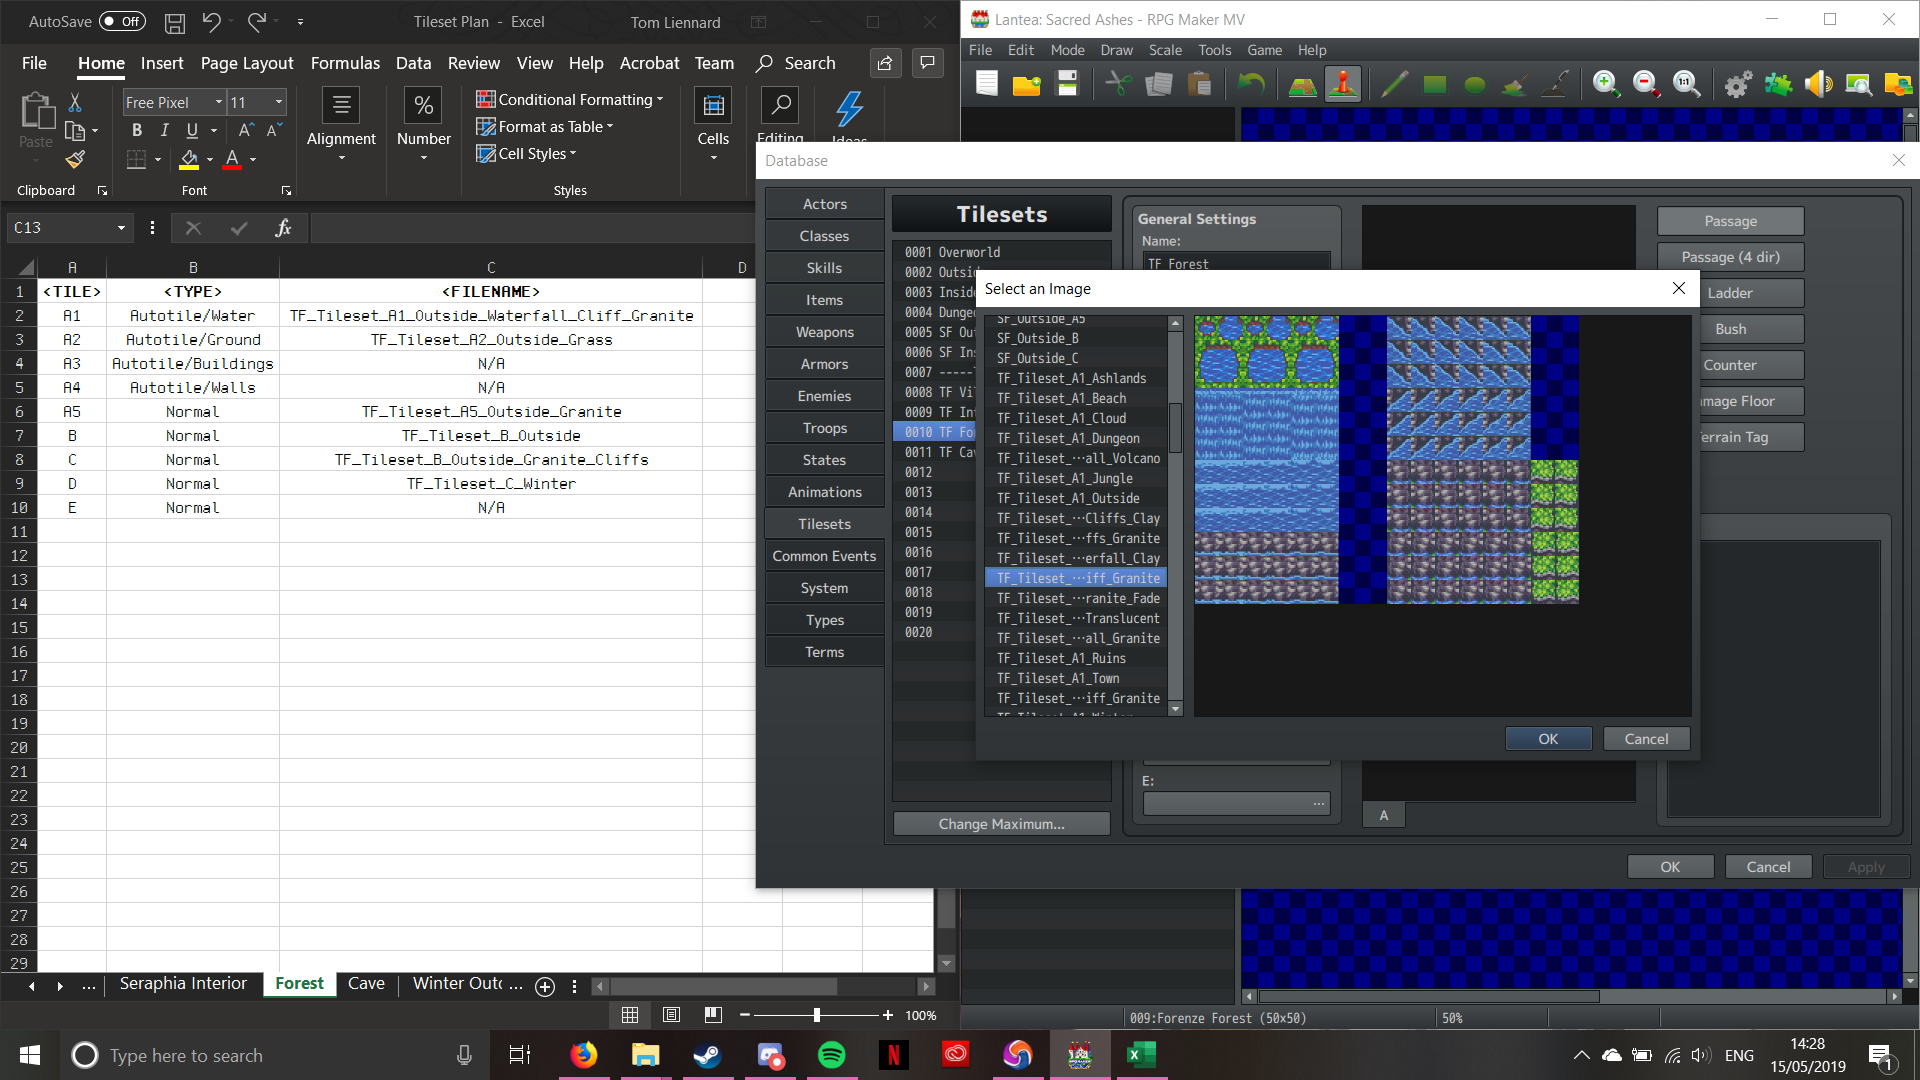
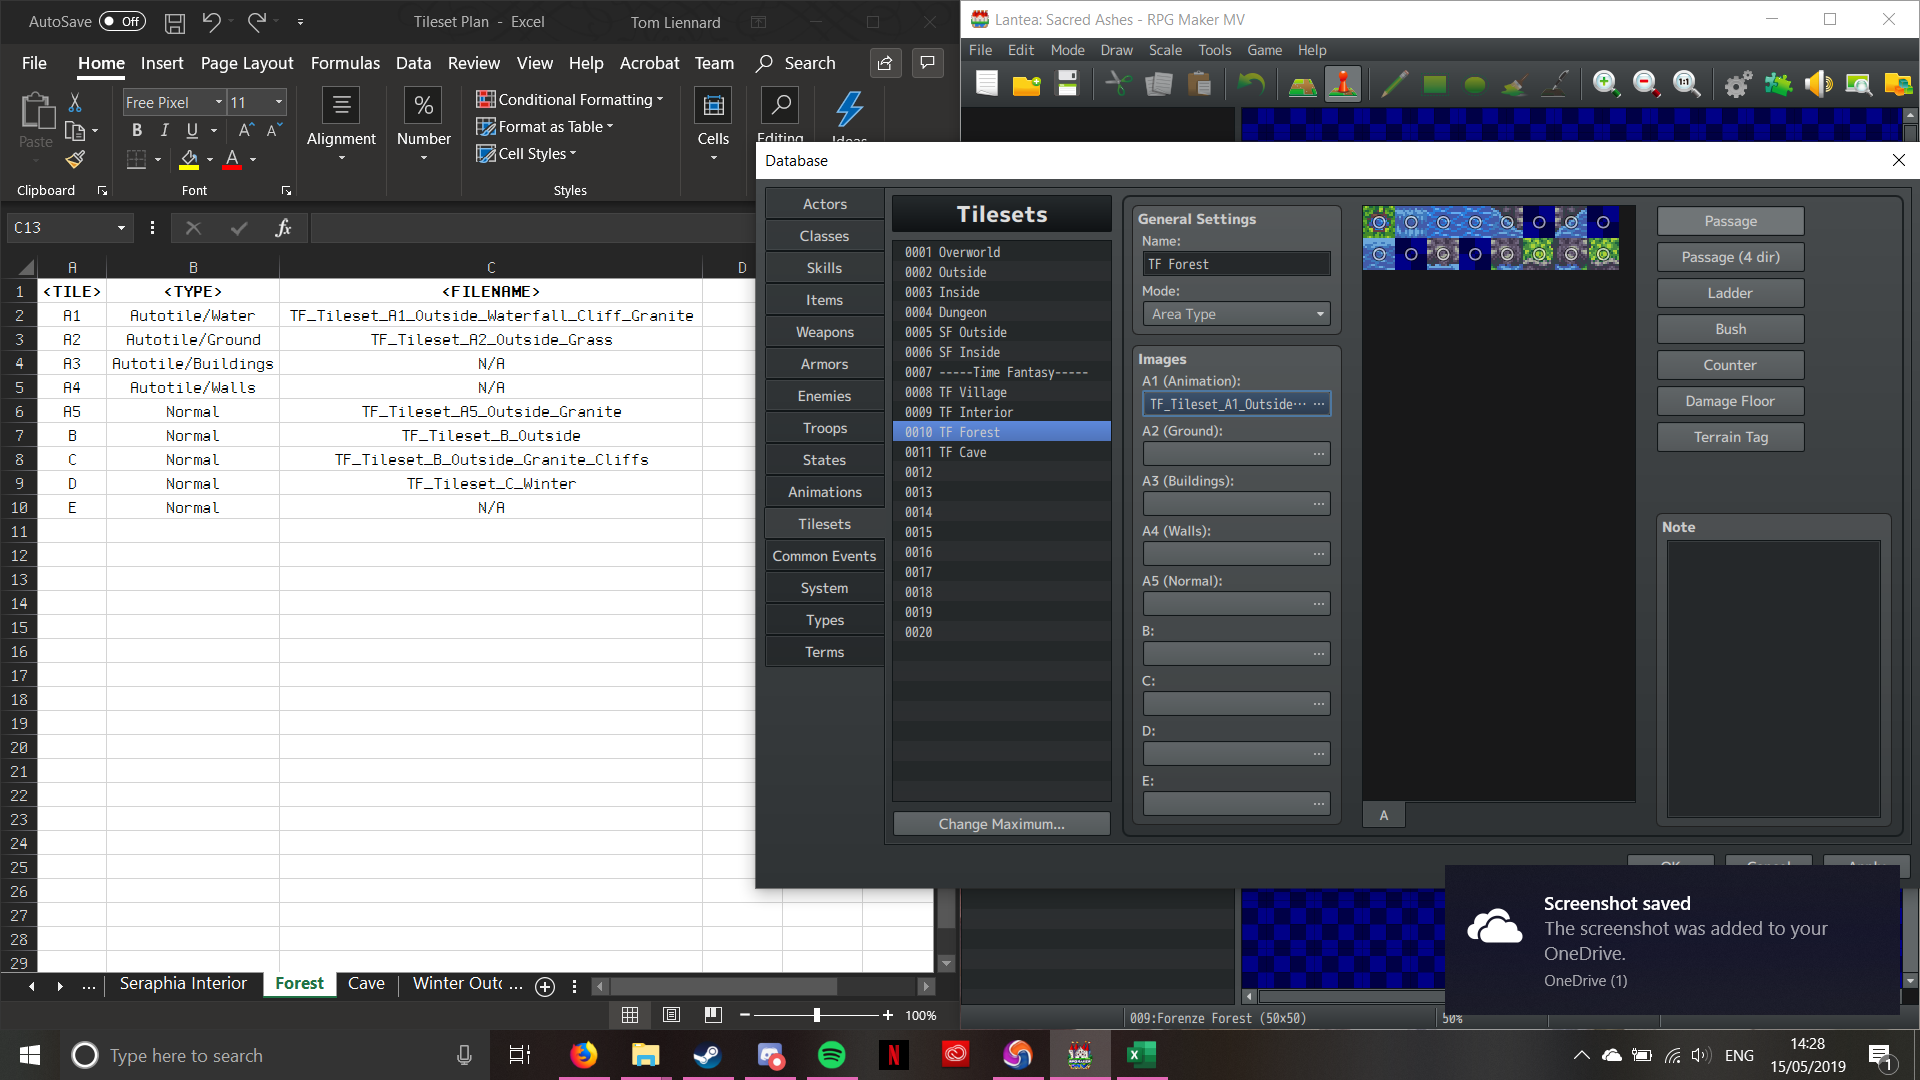
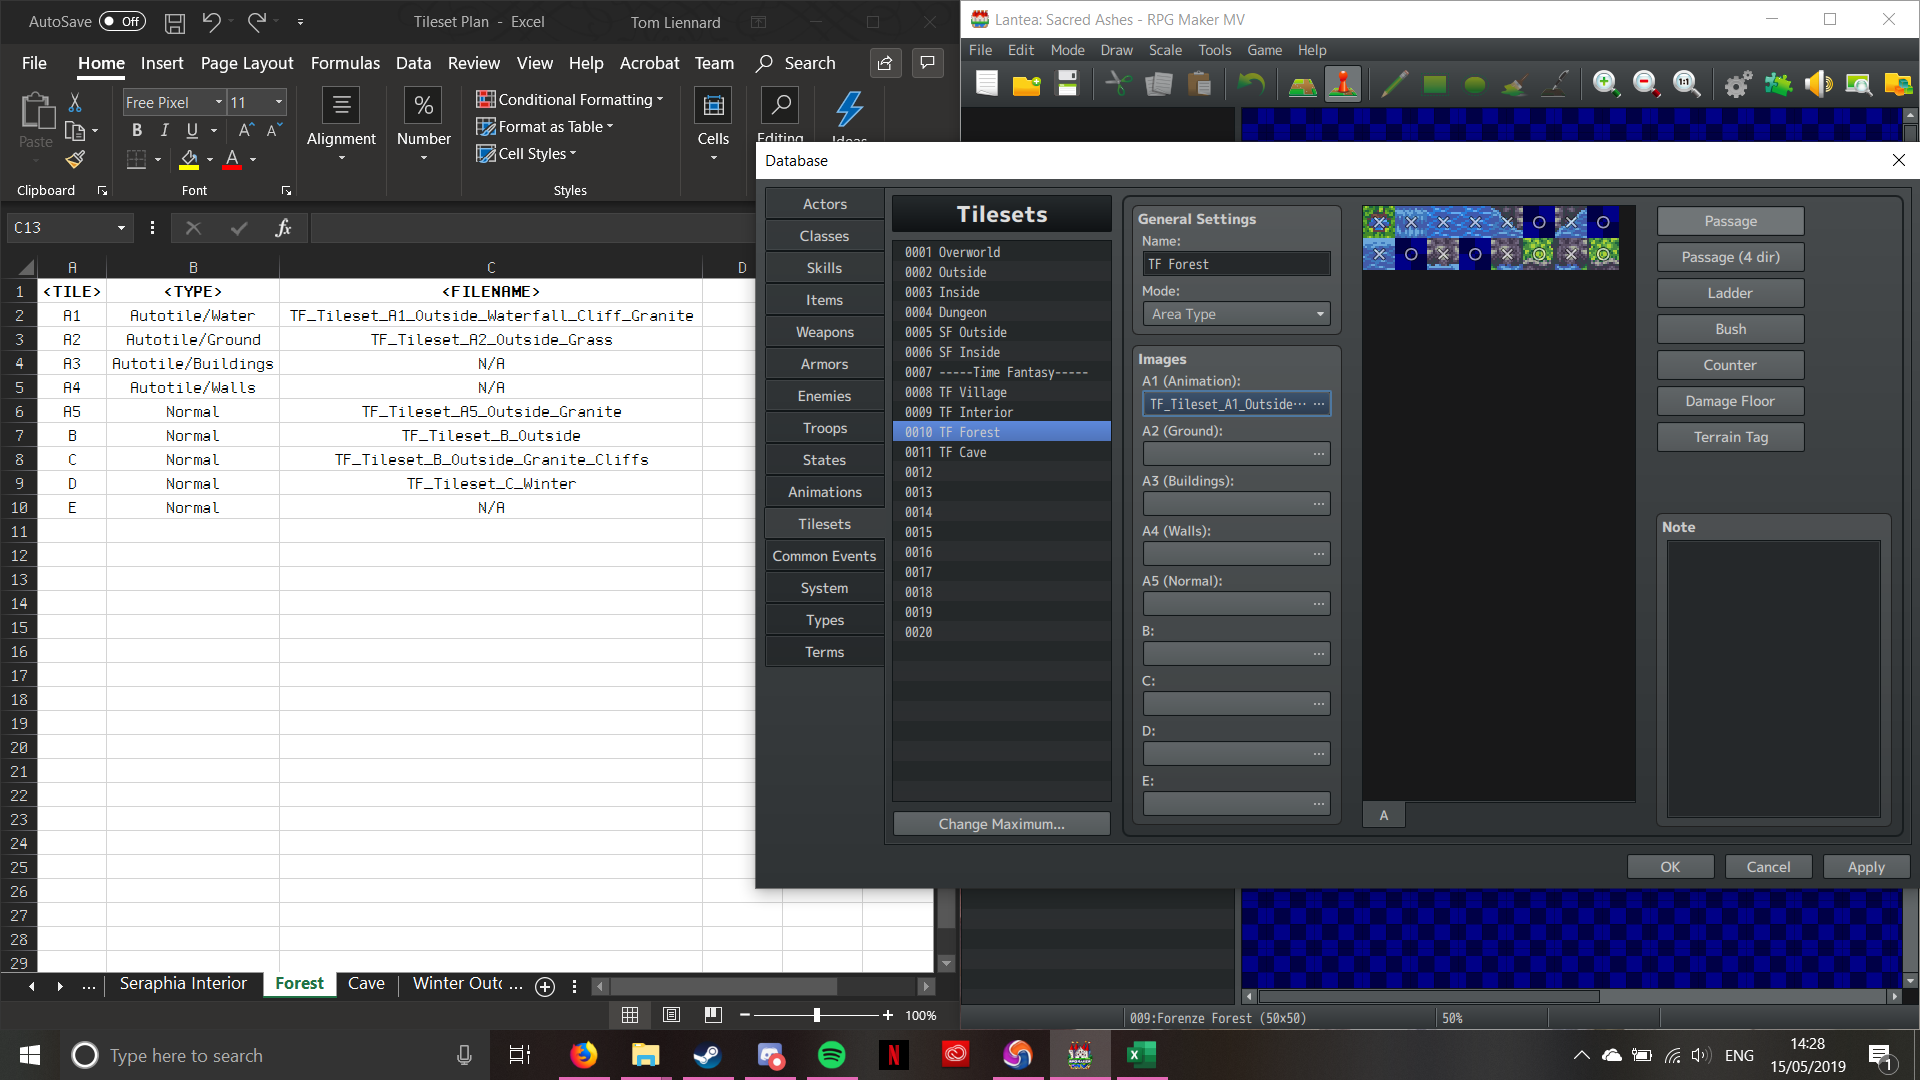
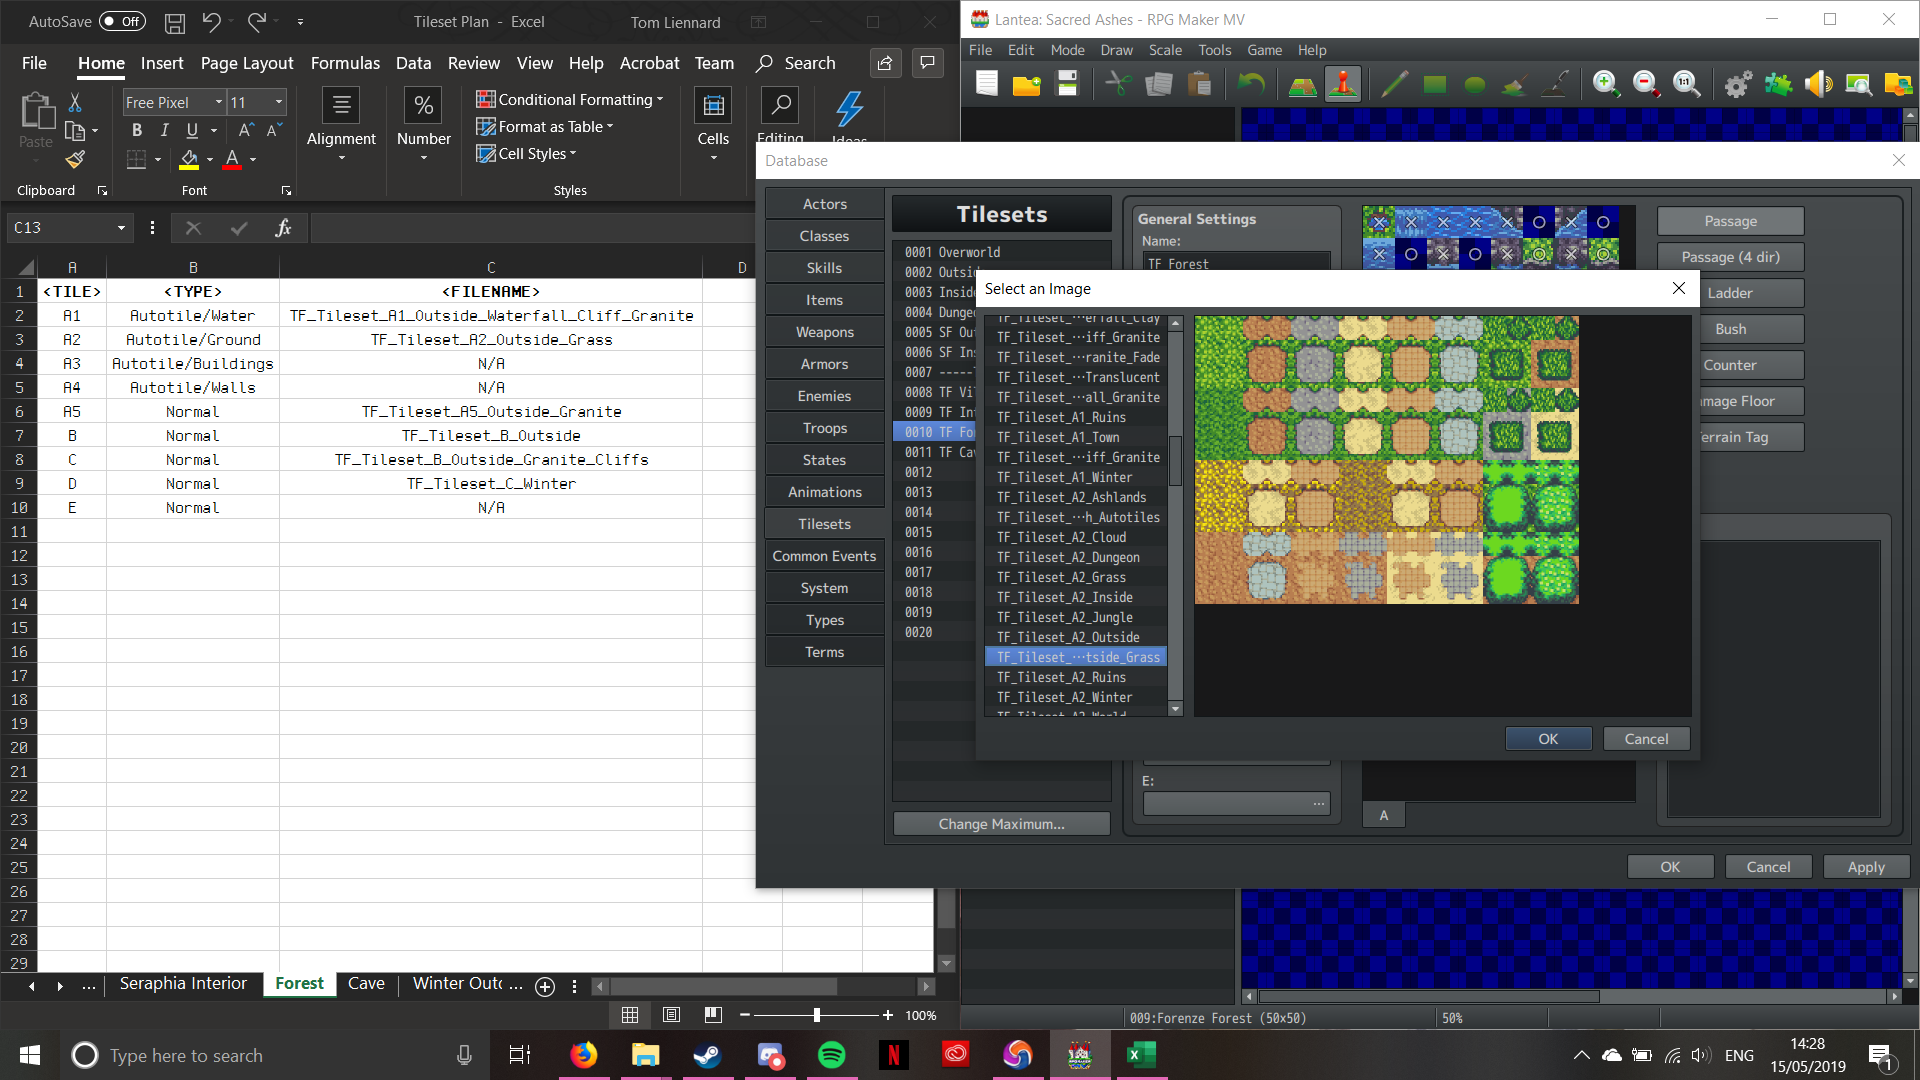
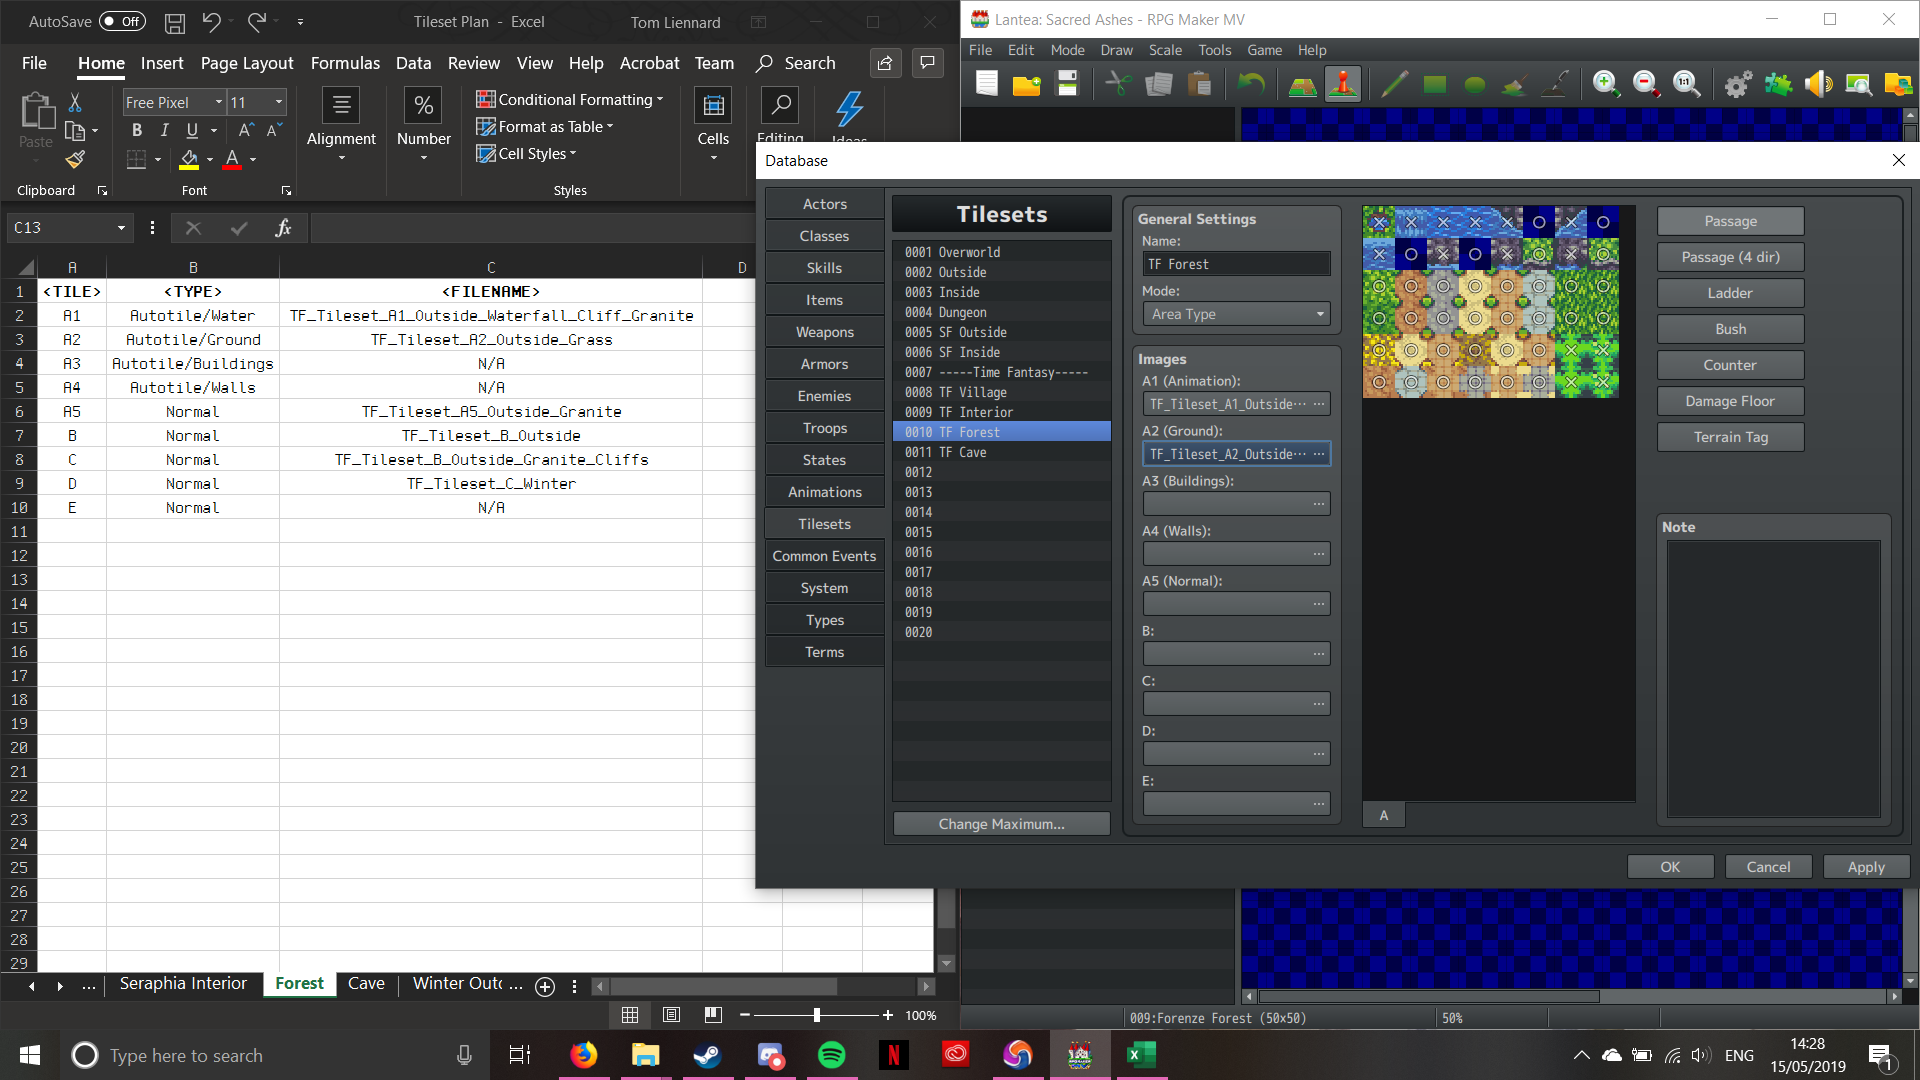
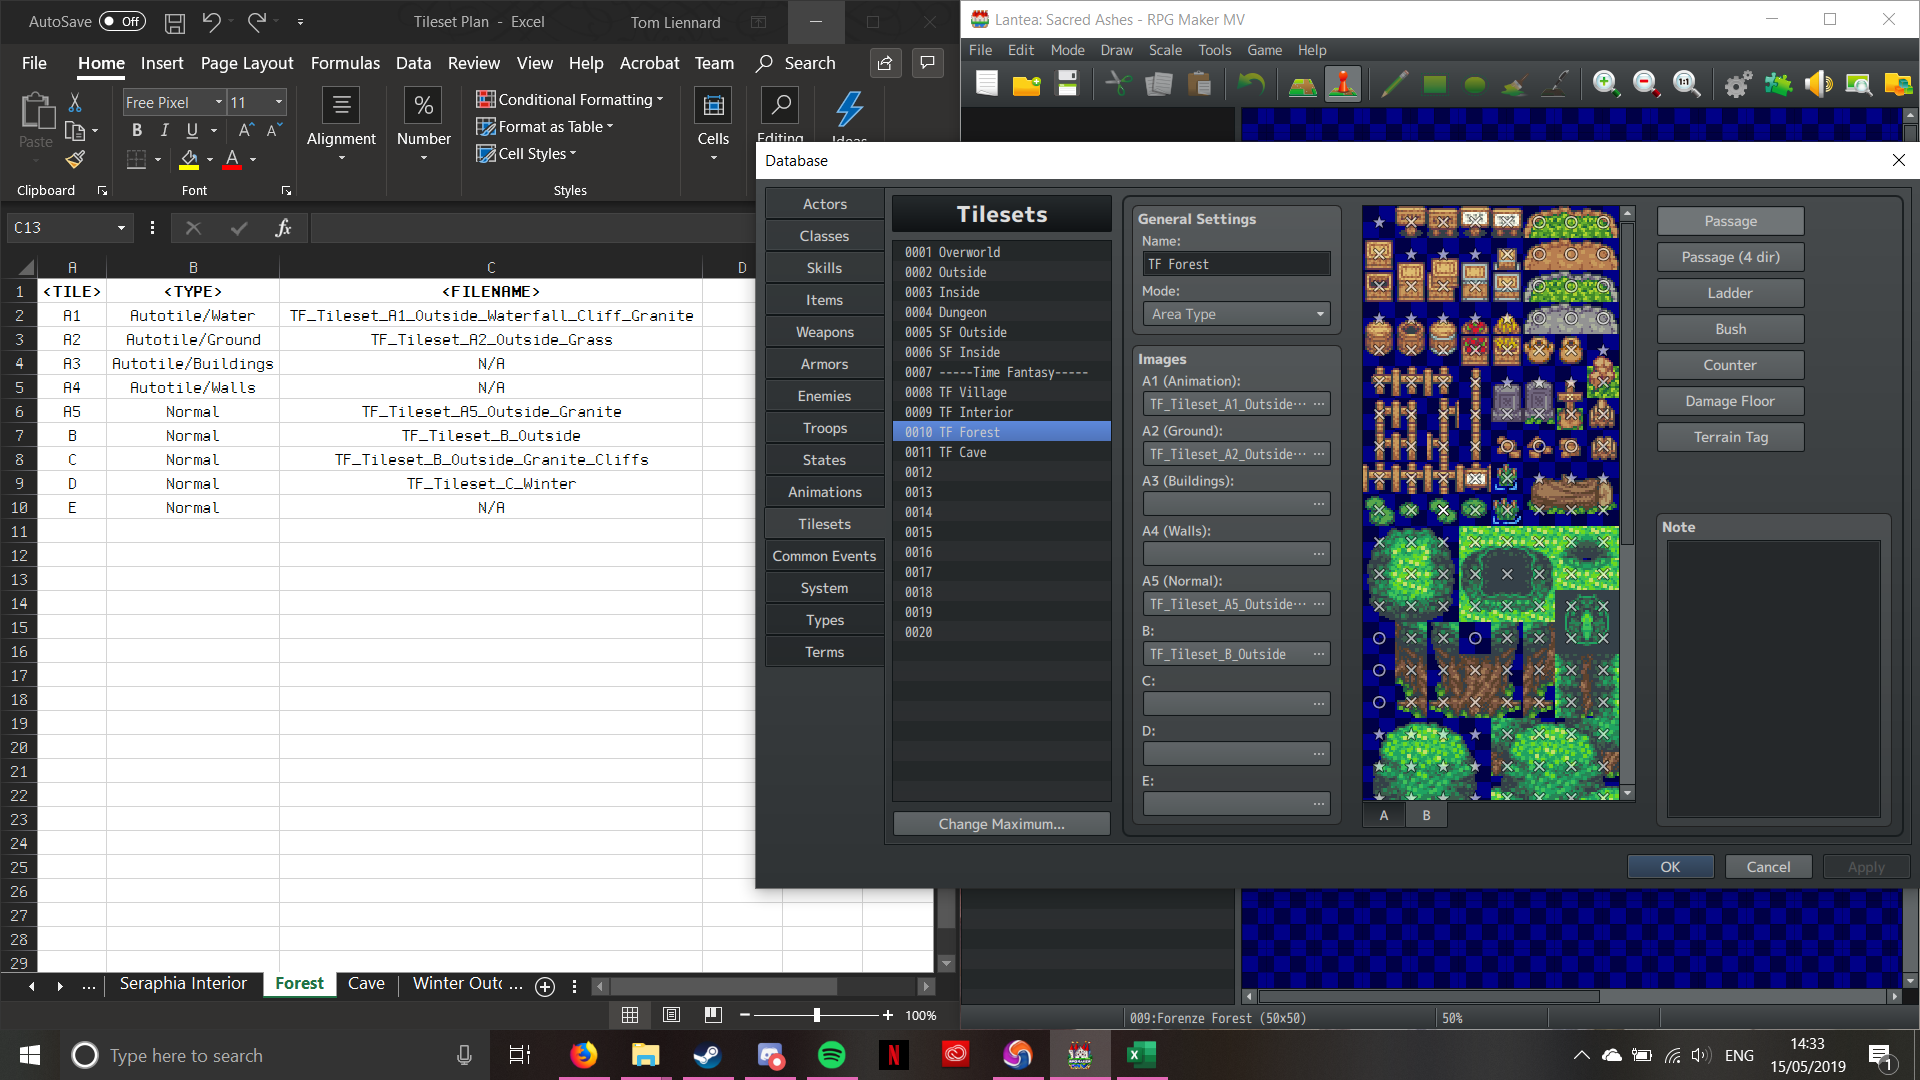
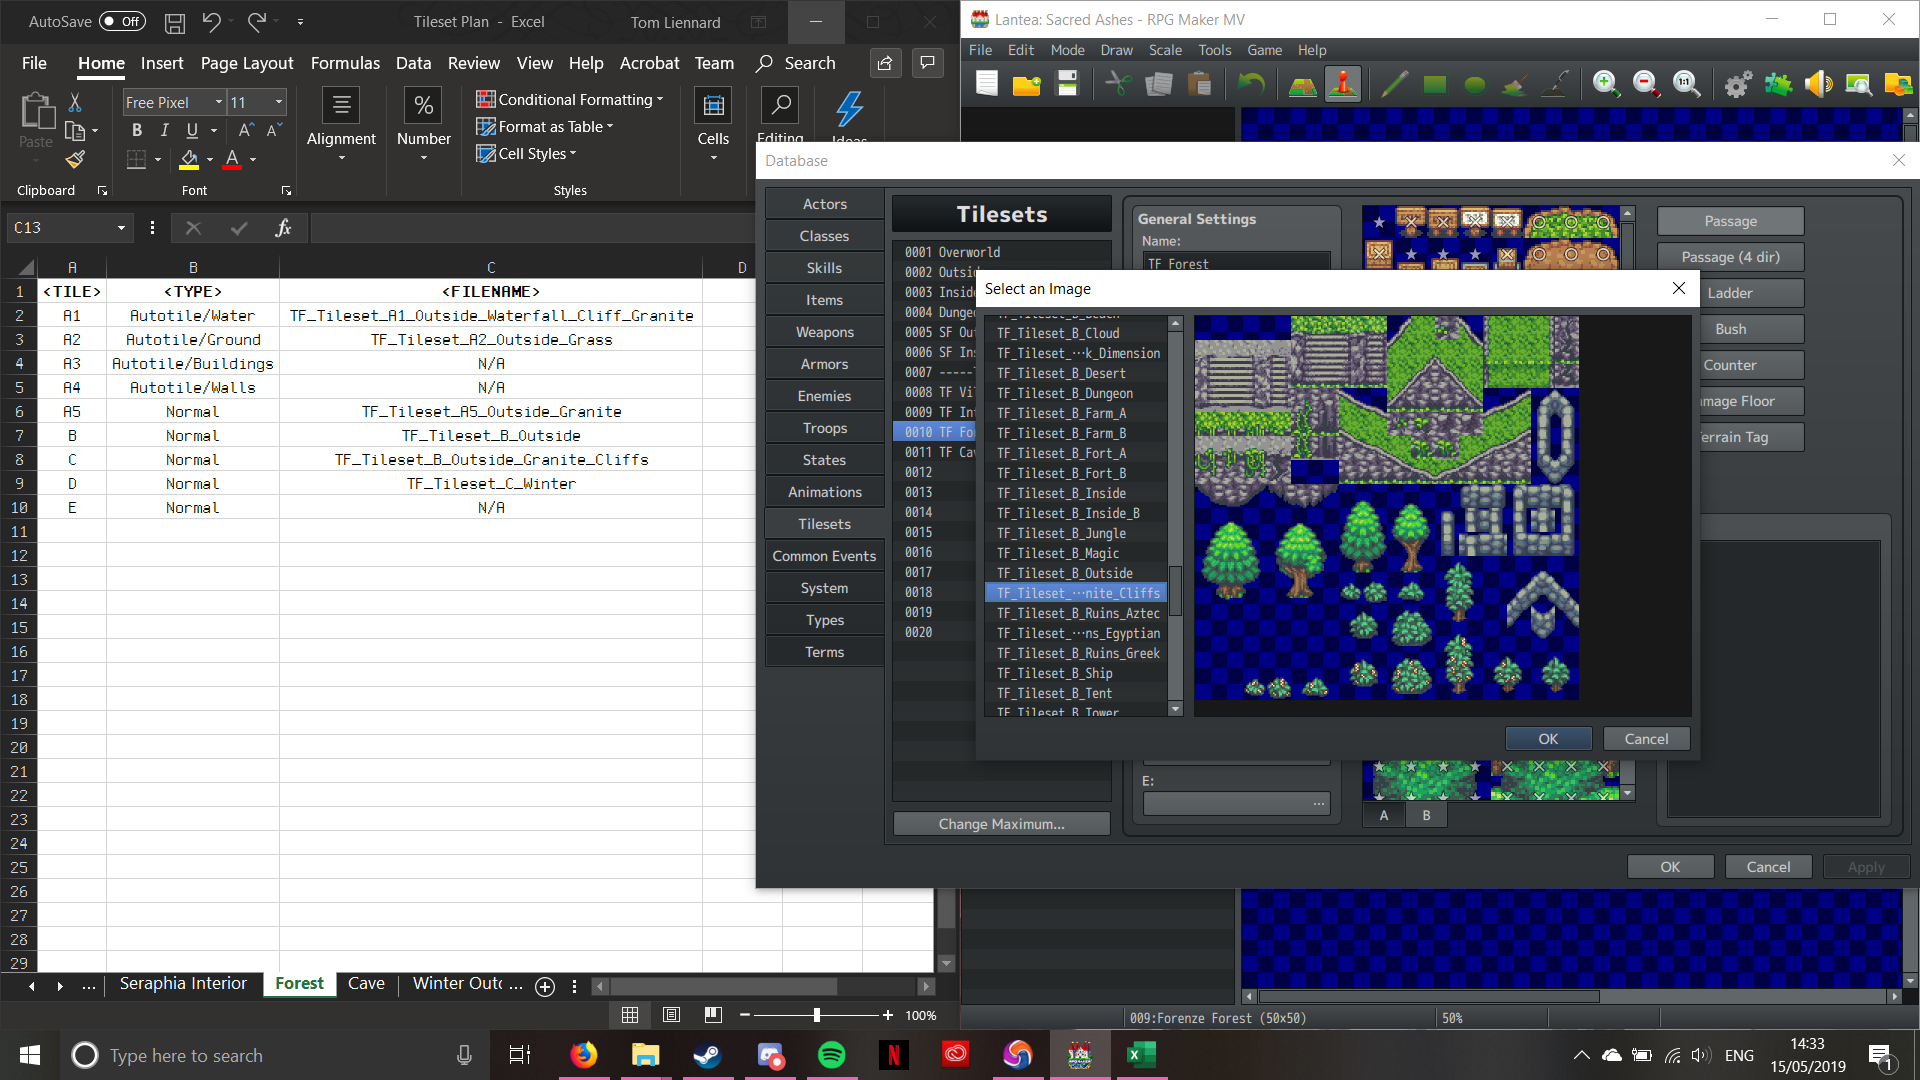
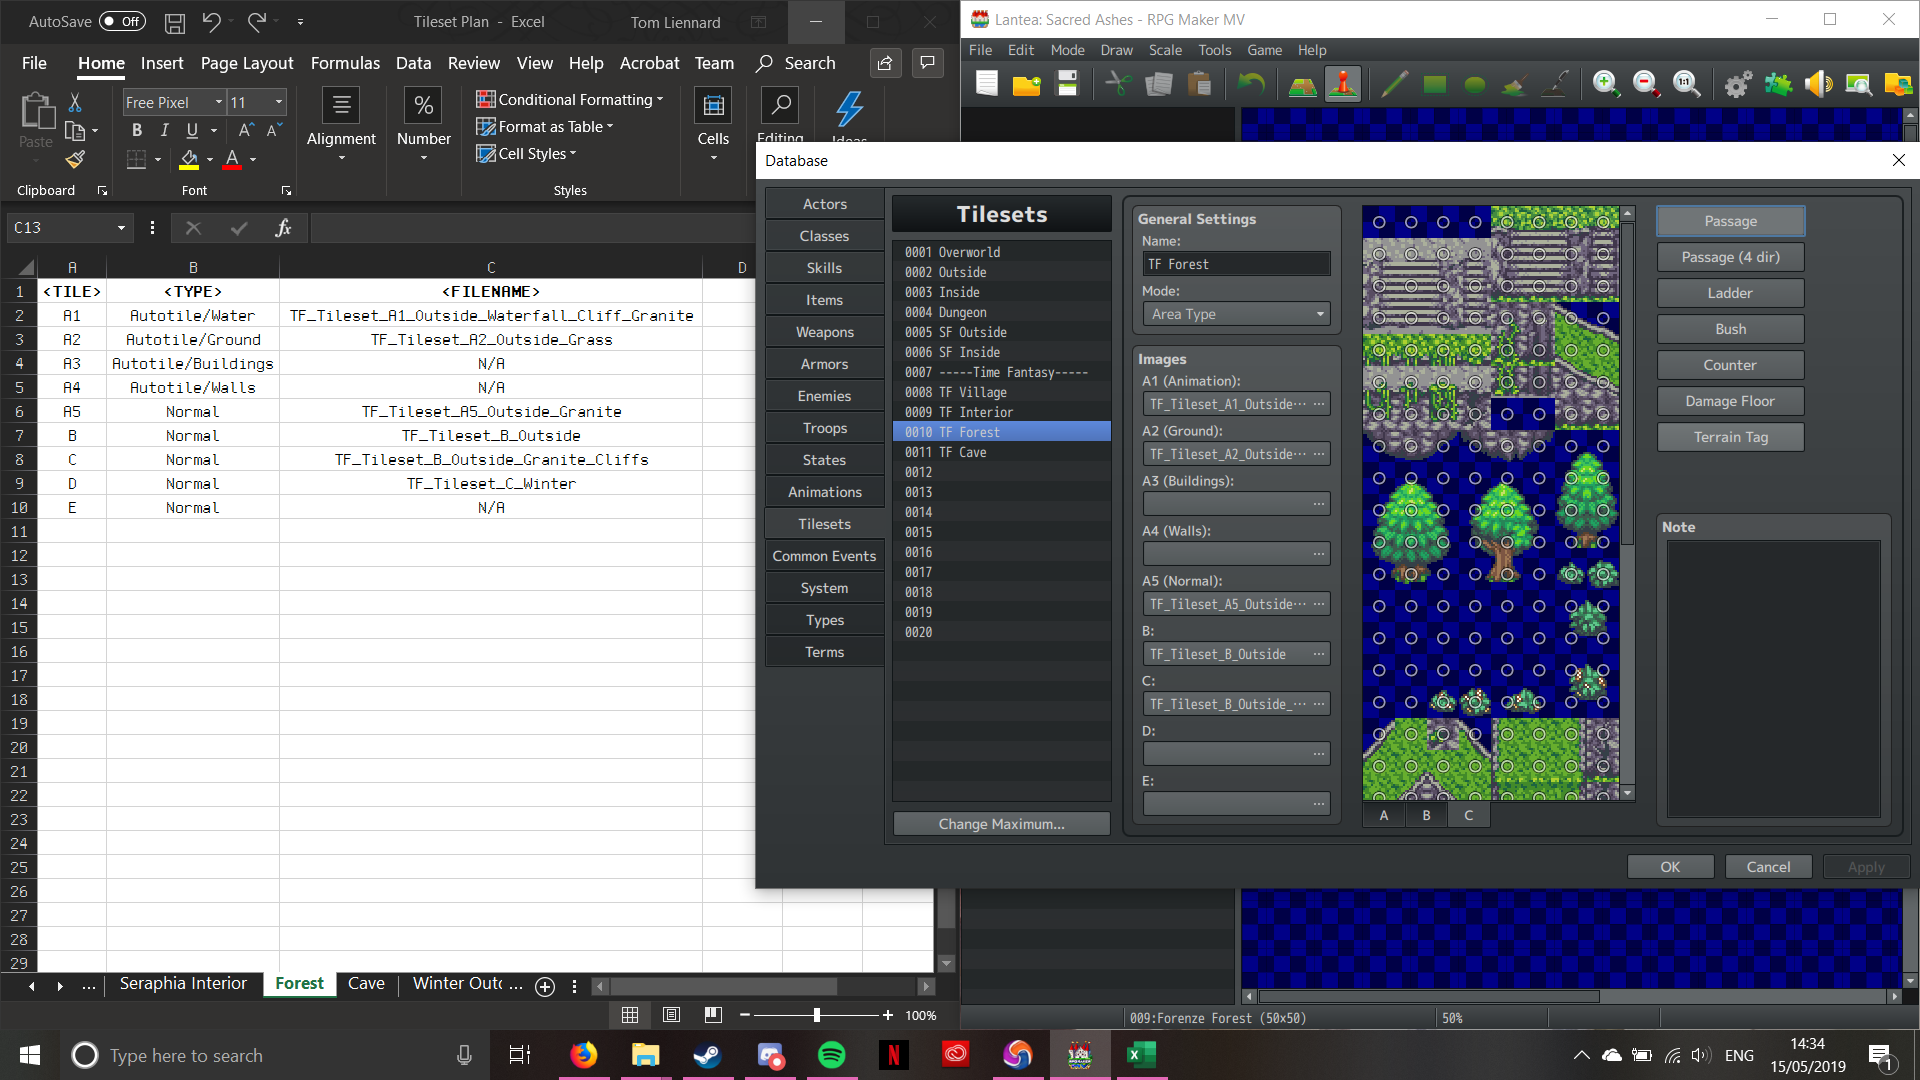
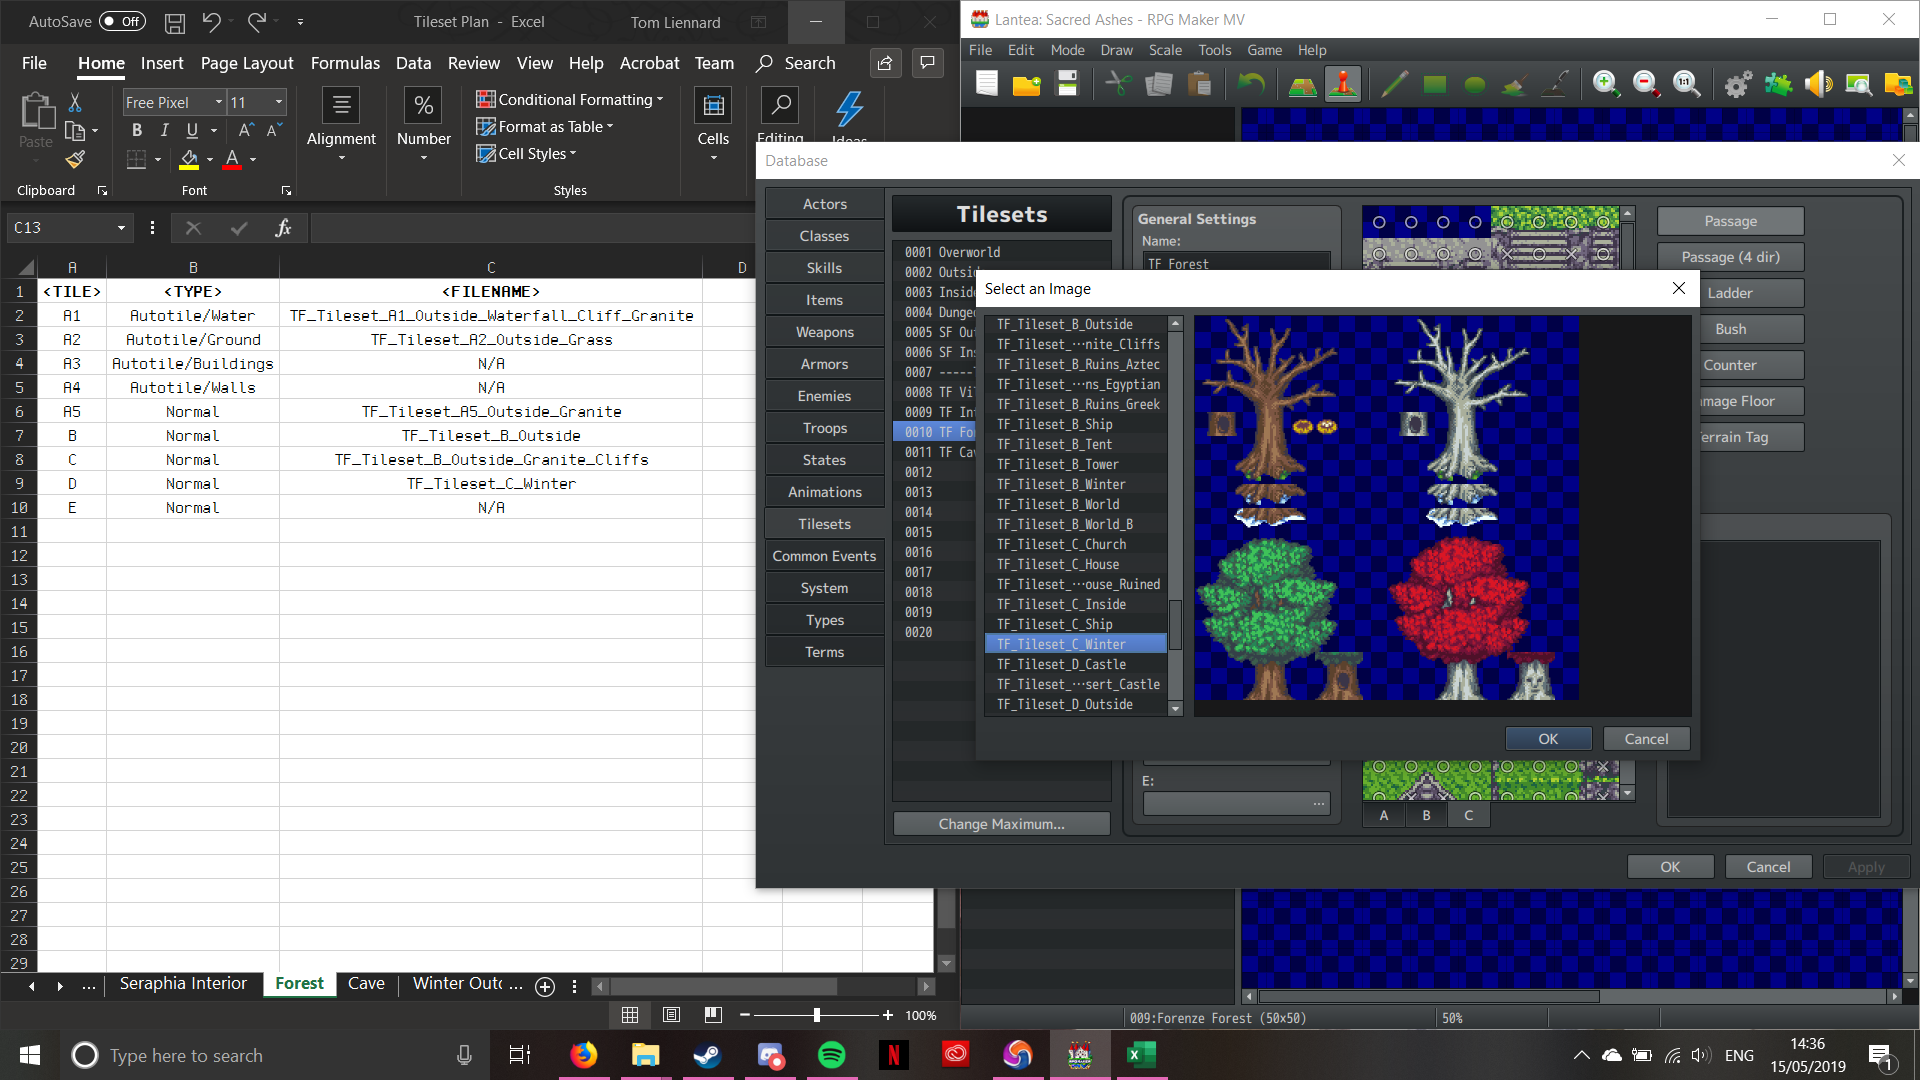
- This last part seems to be going OK, as it’s the production phase. I’m currently on that now, so hopefully it should abide by the proposal. I’ve also demonstrated some of the assets that I’m making, so that’s in there too.
Overall, I’ve stuck to what was really quite a vague concept. I think my production would have worked so much better if my concept was more definitive. So far, I’ve only got a small area of my game done, and then not even to completion at this point. Next time I do anything like this, I’m gonna create a much more rigid definition of what I’m making.
So there we have it! Looking back, I wish I could do this project again, as I could do it so much better now. That’s the beauty of hindsight. But I’m gonna see this through to the end now, and next time I shouldn’t make so many basic mistakes in my project management. Live and Learn I suppose.
I’ll be back soon with some more Dev Logs.