Hi everyone!
Today, I’m going to go through how to go through how I create and configue tilesets to use in RPG Maker MV. This may be a bit of a long one, but stick with it; it’s certainly interesting.
Under the Tilesets tab in the database (which if anyone is wondering, is the Icon with the two cogs on it), select a slot for the tileset to go. If there aren’t any free slots, make some more by clicking on the “Change Maximum” button, and entering how many slots you’d like altogether. I’ve already gone ahead and named the tileset I’ll be doing, to save time. I’ll also be referencing my Tileset Plan that I posted in Dev Log #1, so if you don’t know how that works, please check out that post before continuing.
Starting with a blank tileset:

I’ve already opened the Tileset Plan, so I can see what’s supposed to go where. Now, in this interface, there are various buttons. General Settings is fairly straigtforward, with the name and mode sections. There are only two modes; Area and World. As this is going to be a Dungeon-style area, we want to leave it default (as it always defaults to Area Mode). Images is where we’re going to be selecting the various tileset components (as mentioned in Dev Log #2), and making them a part of the tileset. The buttons on the right are a bit more interesting; each one selects a specific mode, such as general passability, specific passability, the ability to talk to NPC’s through the object, or whether the floor causes the player HP damage.
Anyway, enough about the interface, let’s start importing assets!
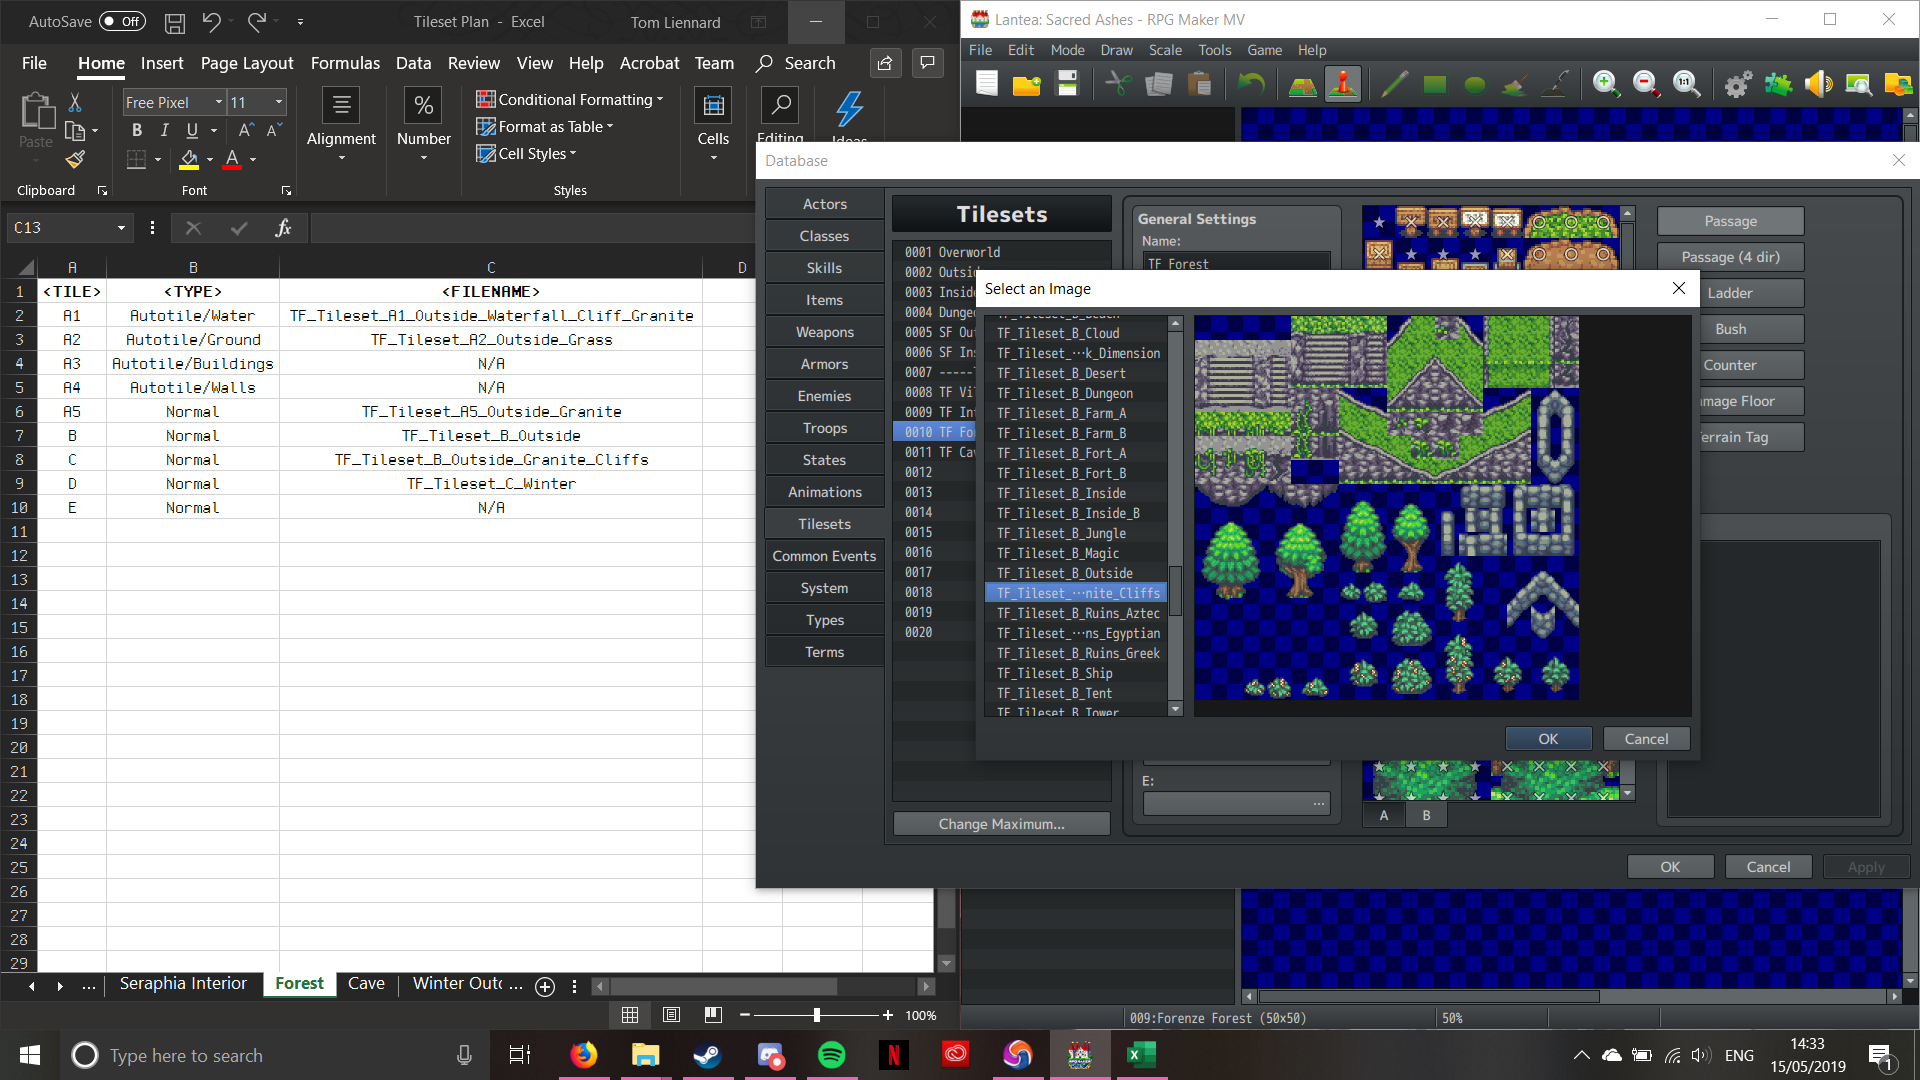
Firstly, we’re going to start with the “A1″ section of the tileset; animated water. By clicking on the box marked “A1 (Animation)”, it brings up the following window:
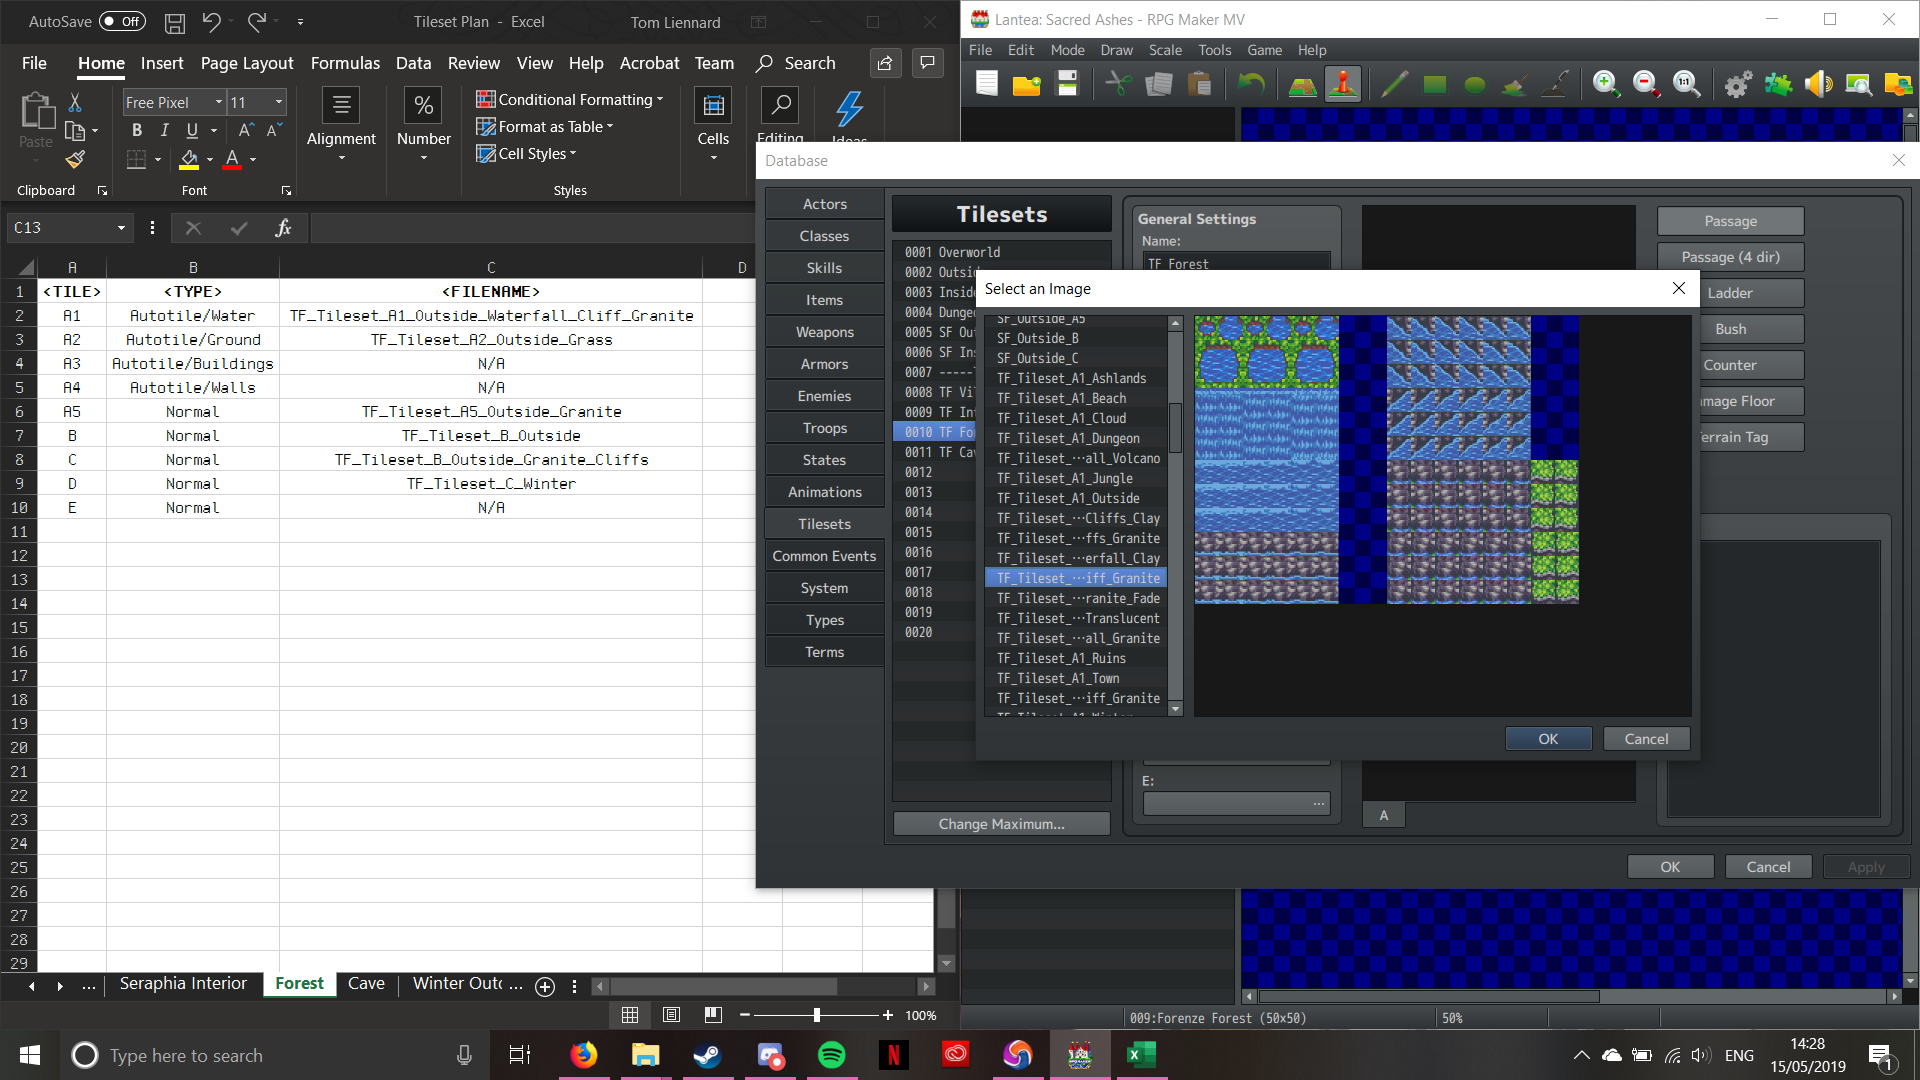
Pictured above is the A1 Tileset that I’m going to use. If you look, it’s the same one as detailed in the plan. There’s a reason I chose this one; it has waterfalls. I like being able to add some depth to my maps, otherwise they can look a little too flat. Also, if you think about how geography works, water ALWAYS flows downhill. Once I click OK, the tileset will appear in the main interface between “General Settings” and “Passage”.
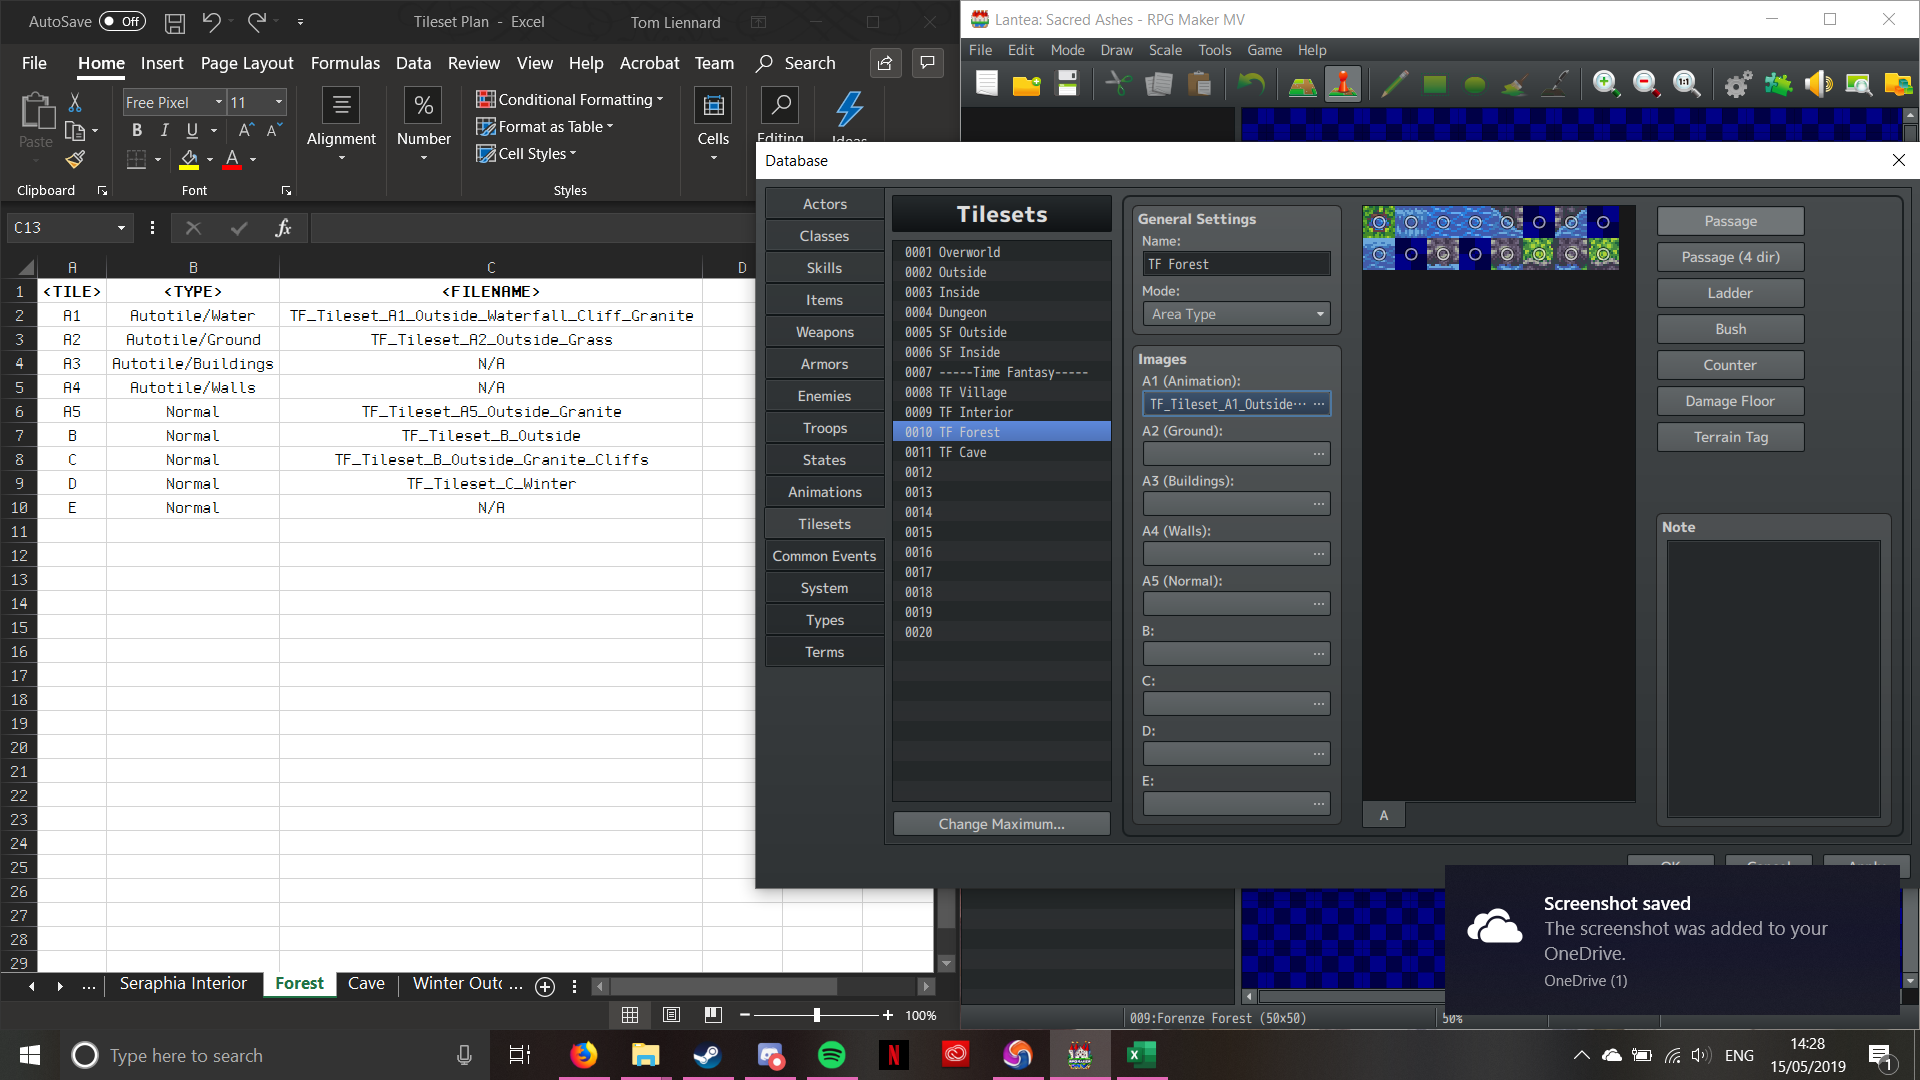
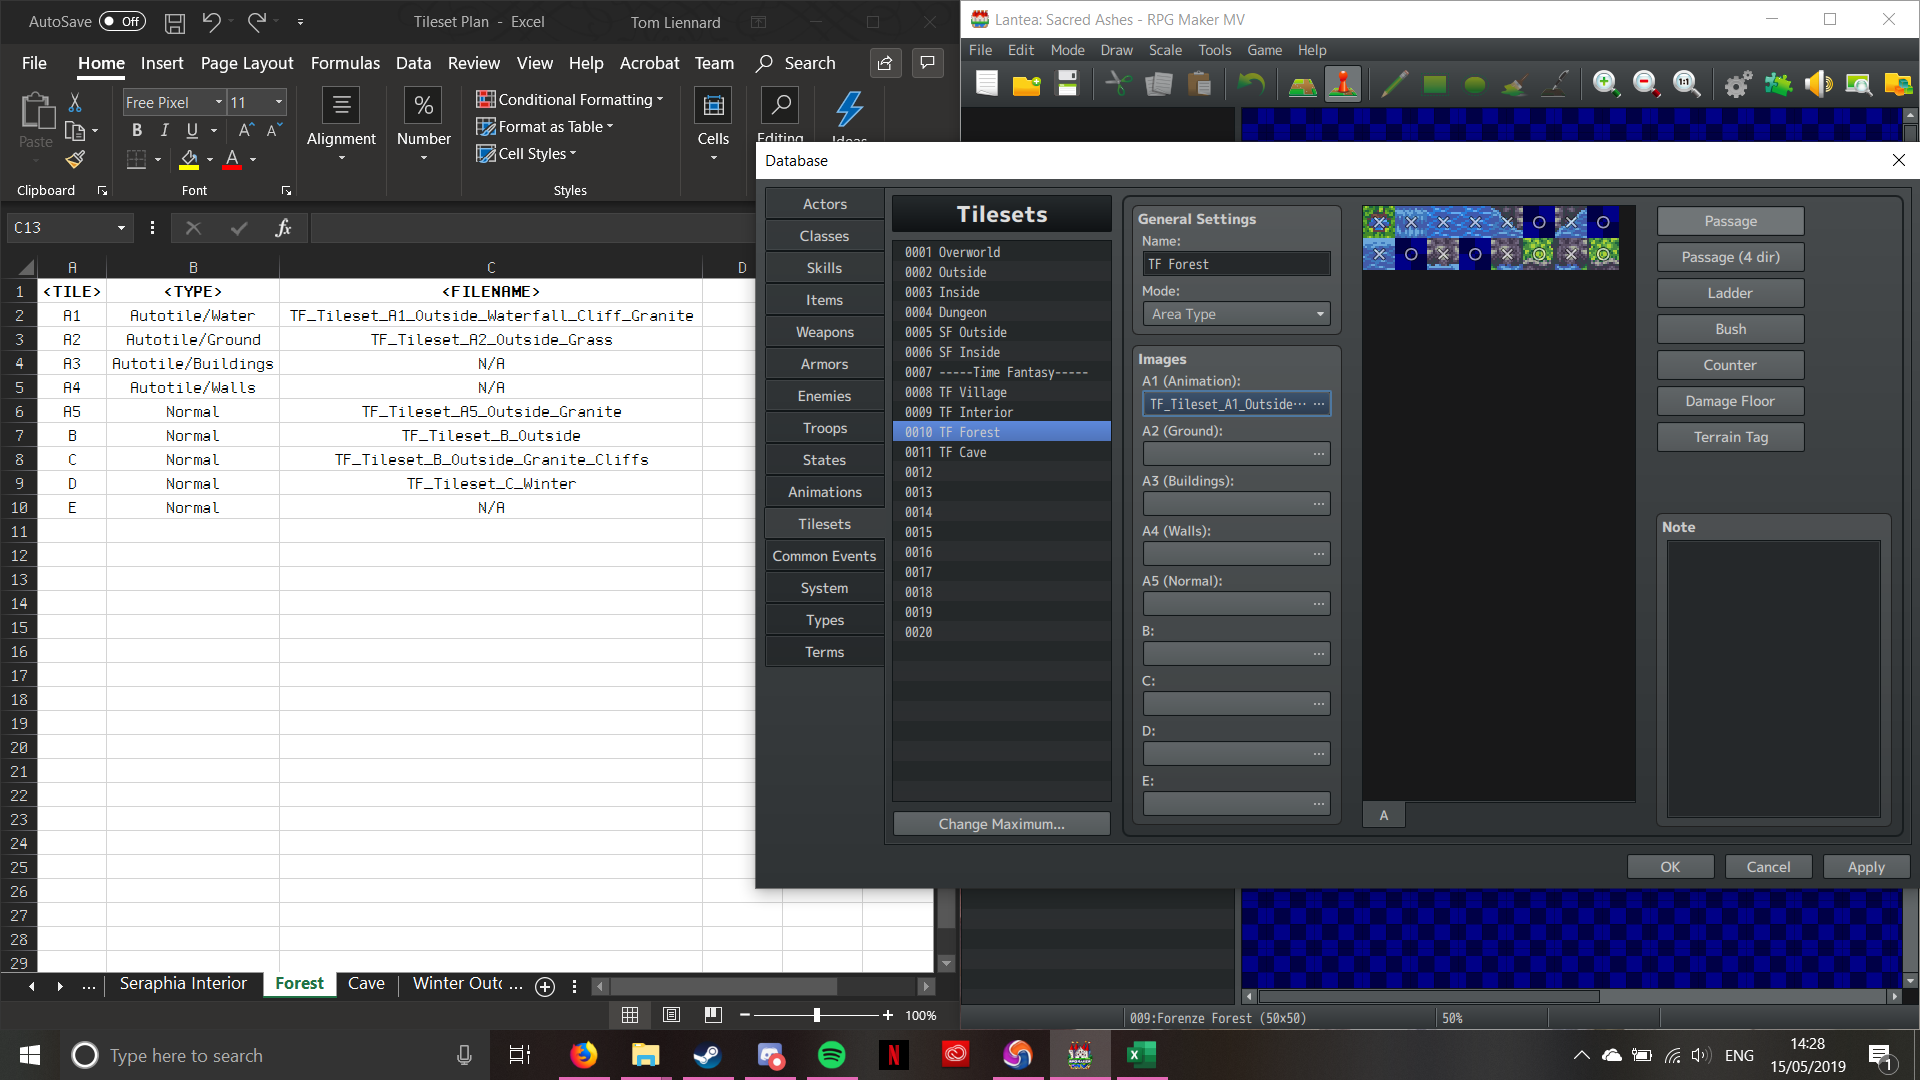
Now that the image has been imported, it’s time to set passability. “A” tileset pieces can only be set to one of two passability settings; Yes (Indicated by a Circle), and No (indicated by a Cross). Here’s how the editor looks once I input the passability:
Now the A1 Tiles all work in the same way at this point, so I’m gonna fast-forward through the process; don’t worry, I’ll stop if anything interesting happens!
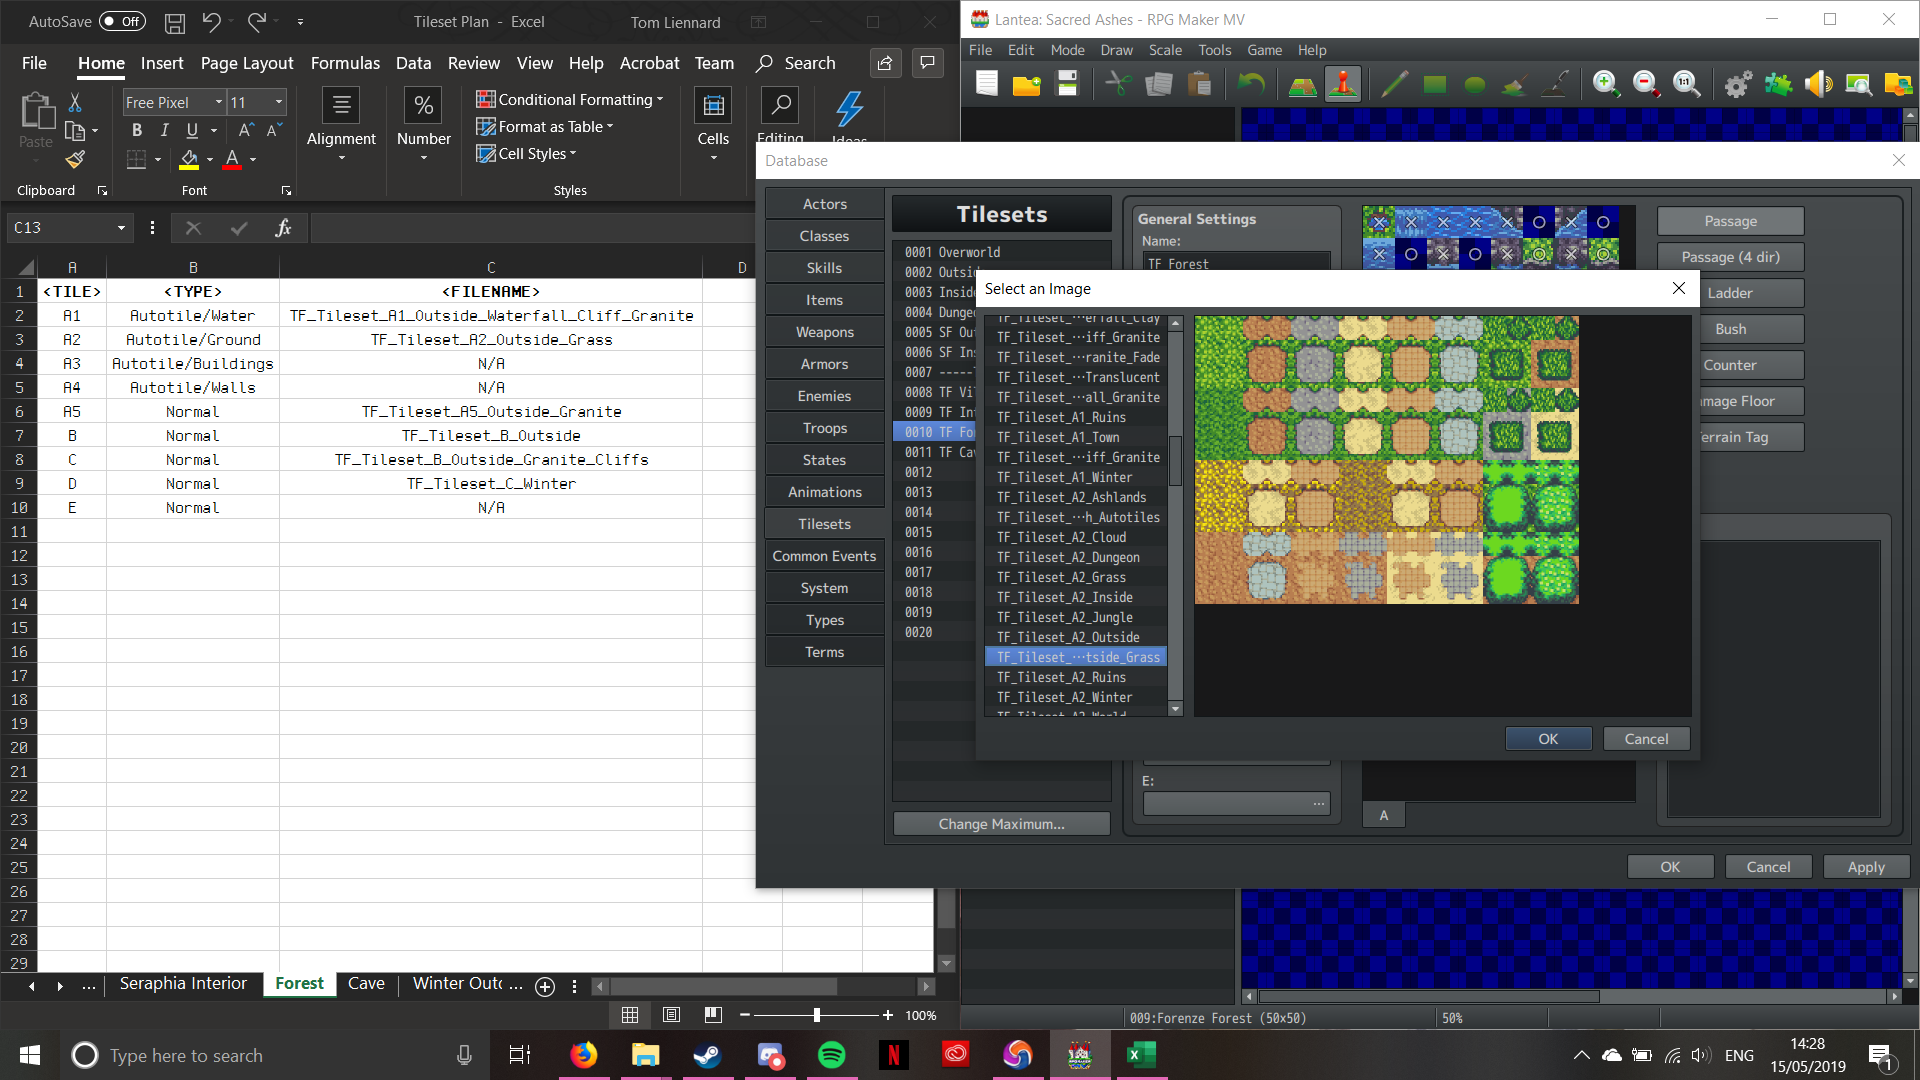
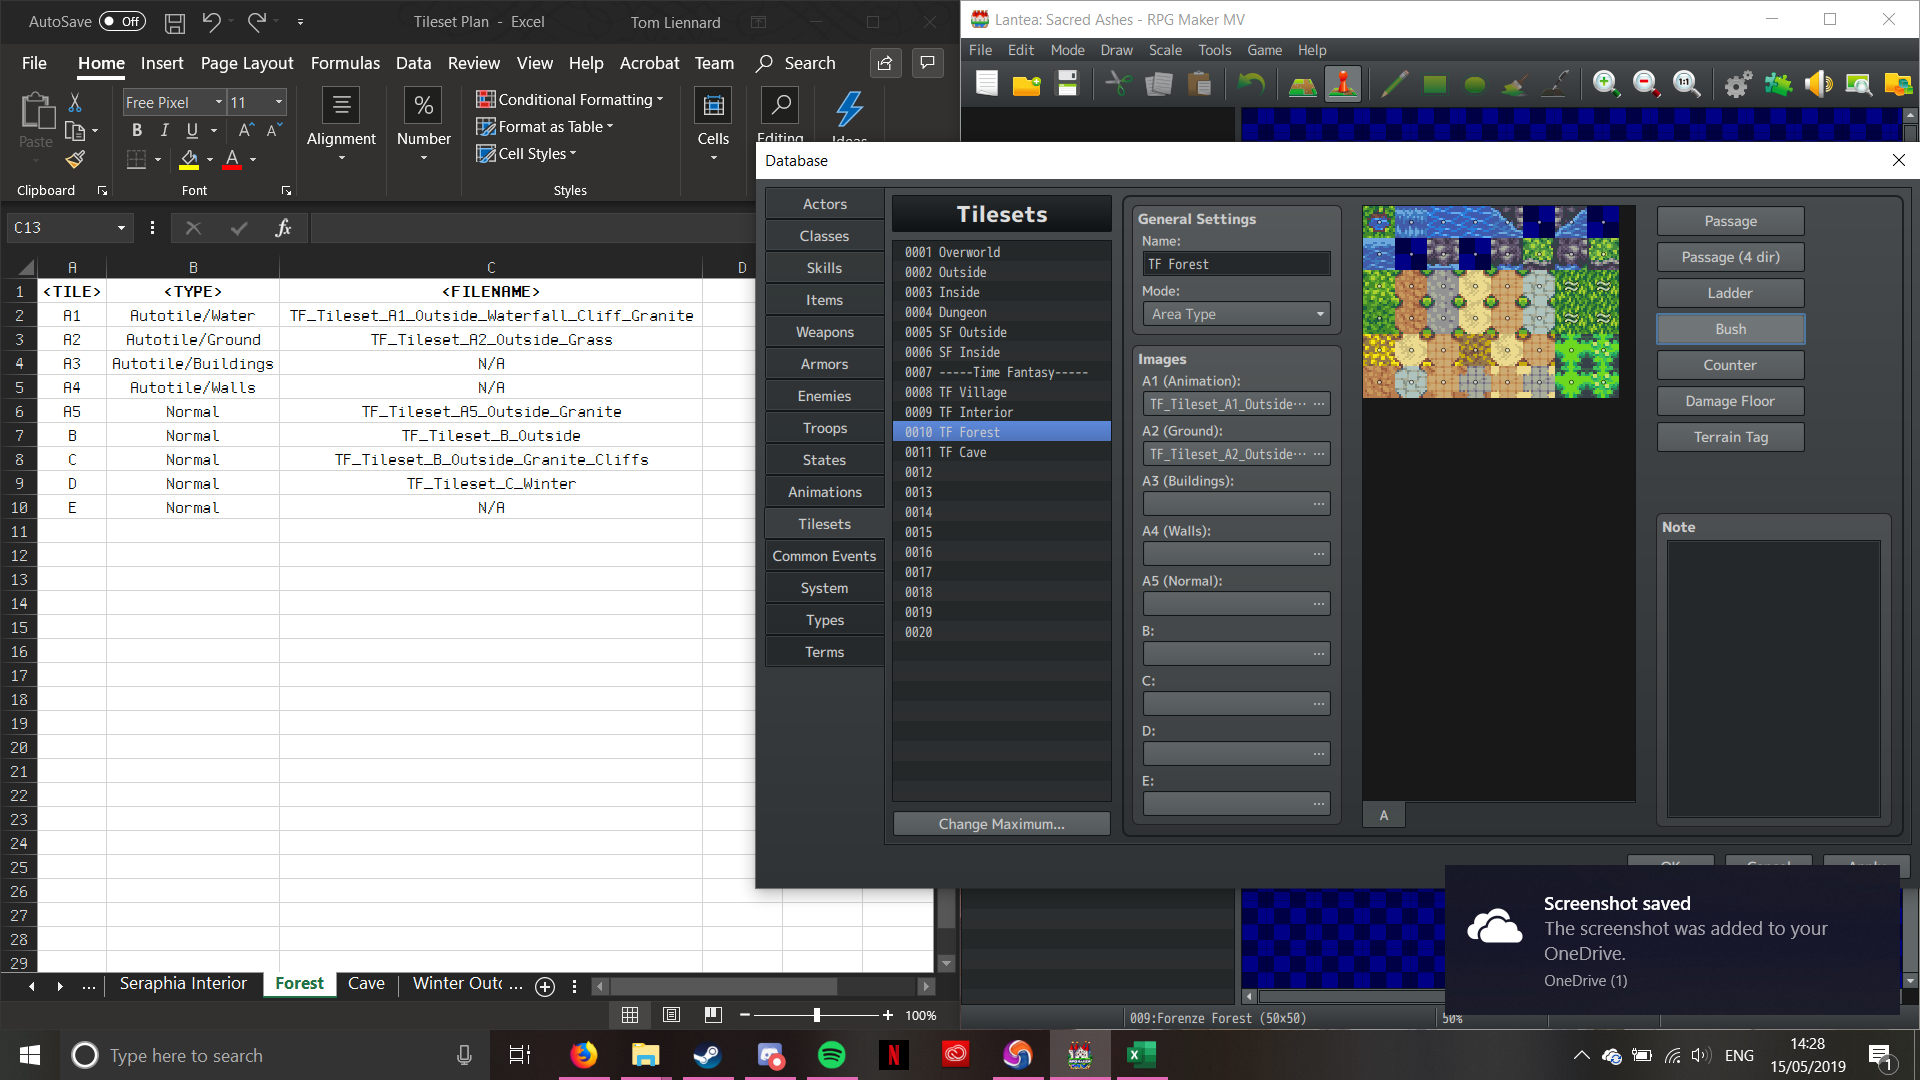
Tileset A2 – Selecting an Image 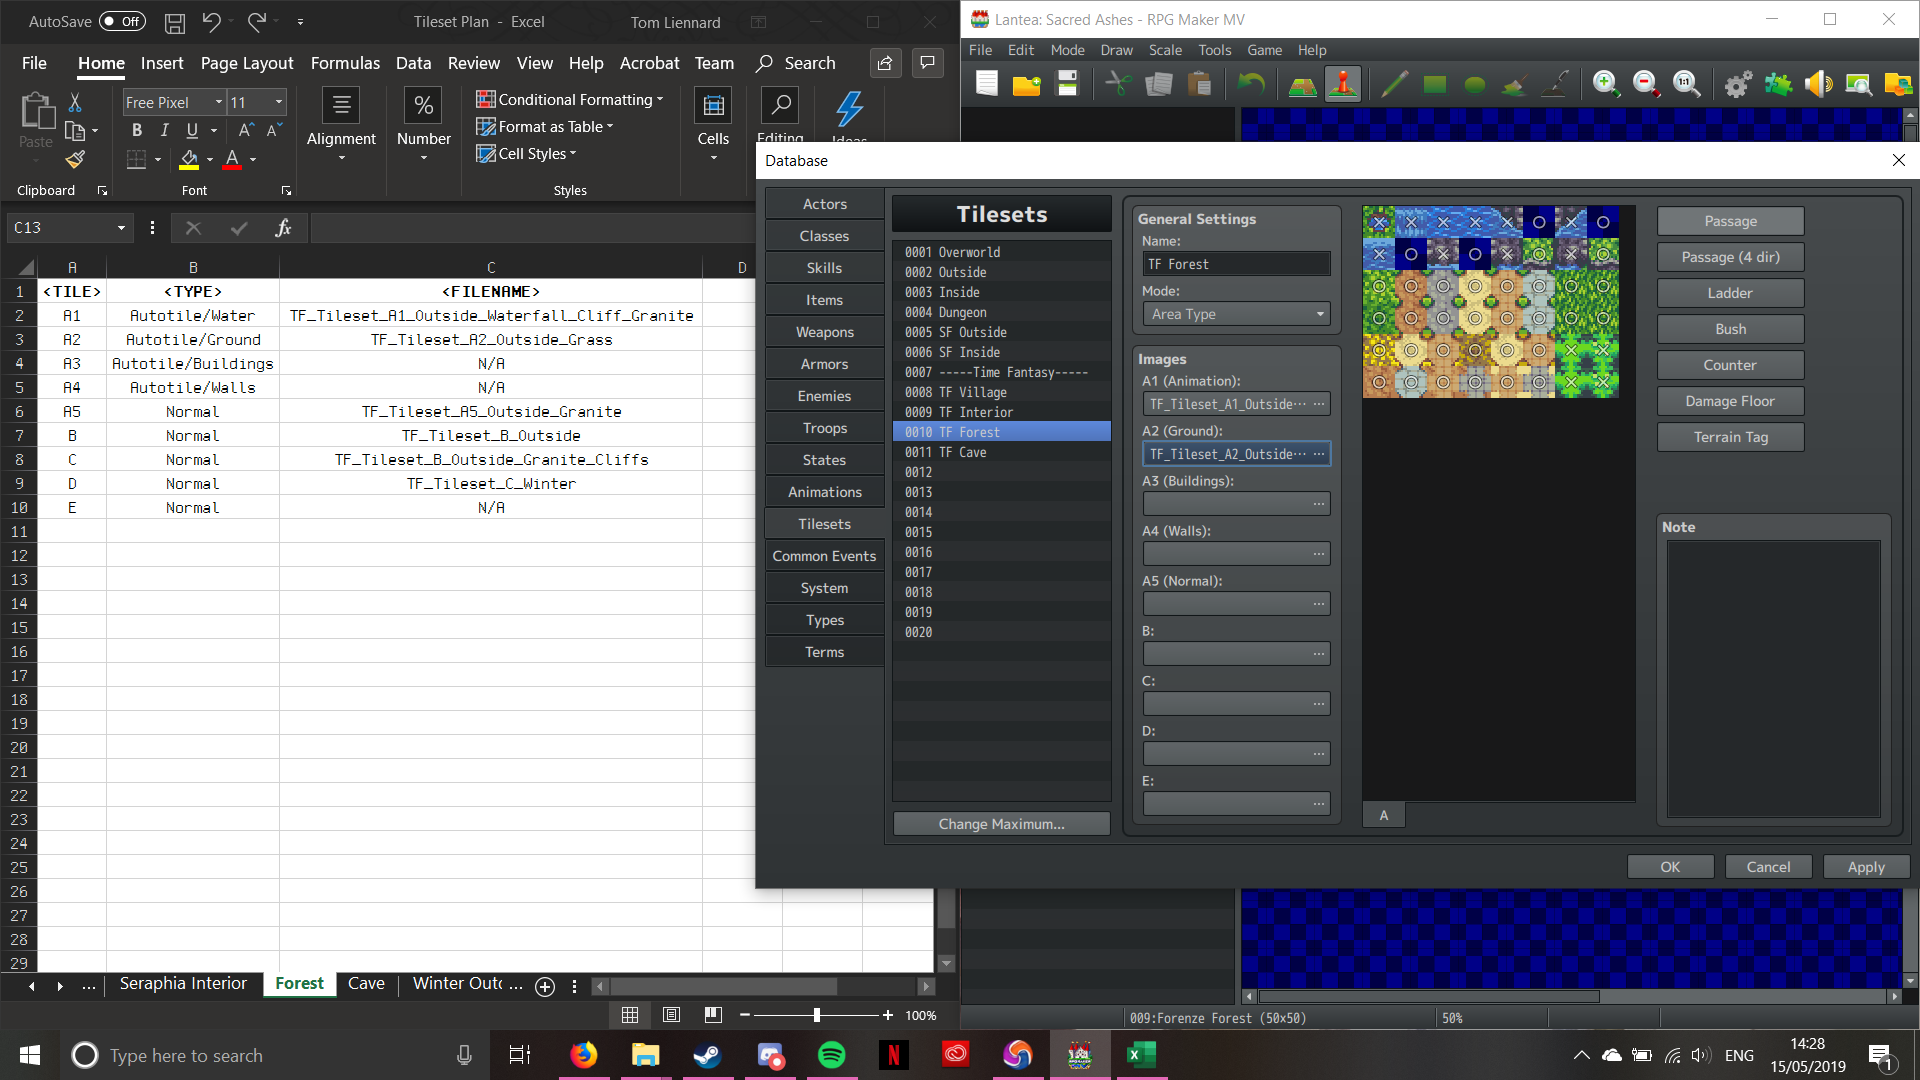
Tileset A2 – Once the Image has been selected
Now this next bit’s a little different, as we’re not setting passability for open ground (leaving them as Circles). The only ones with passability settings are the hedgerows in the bottome right. The grass (upper left of the A2 section) are what’s interesting. We need to “Bush” tag them. Bush-tagging tells the engine to overlay the ground slightly over the feet of the sprites, to create the illusion of walking through tall foliage (Pokémon does this for it’s long grass). To do this, we select the “Bush” option, and then choose the tiles we want Bush-tagged; as follows:
Now that’s done, we can move on to the next section. Now according to the plan, we’re not using the A3 or A4 sections of the tileset. We can do this without it being gamebreaking. Moving onto the A5 tile now then. This ones a little different; it’s not an Autotile. It’s a section of graphics designed to interface with Autotiles, but they aren’t Autotiles themselves. Let’s jump forward through the configuration proccess, as there are no new steps or interesting developments:

Tileset A5 – Image Select 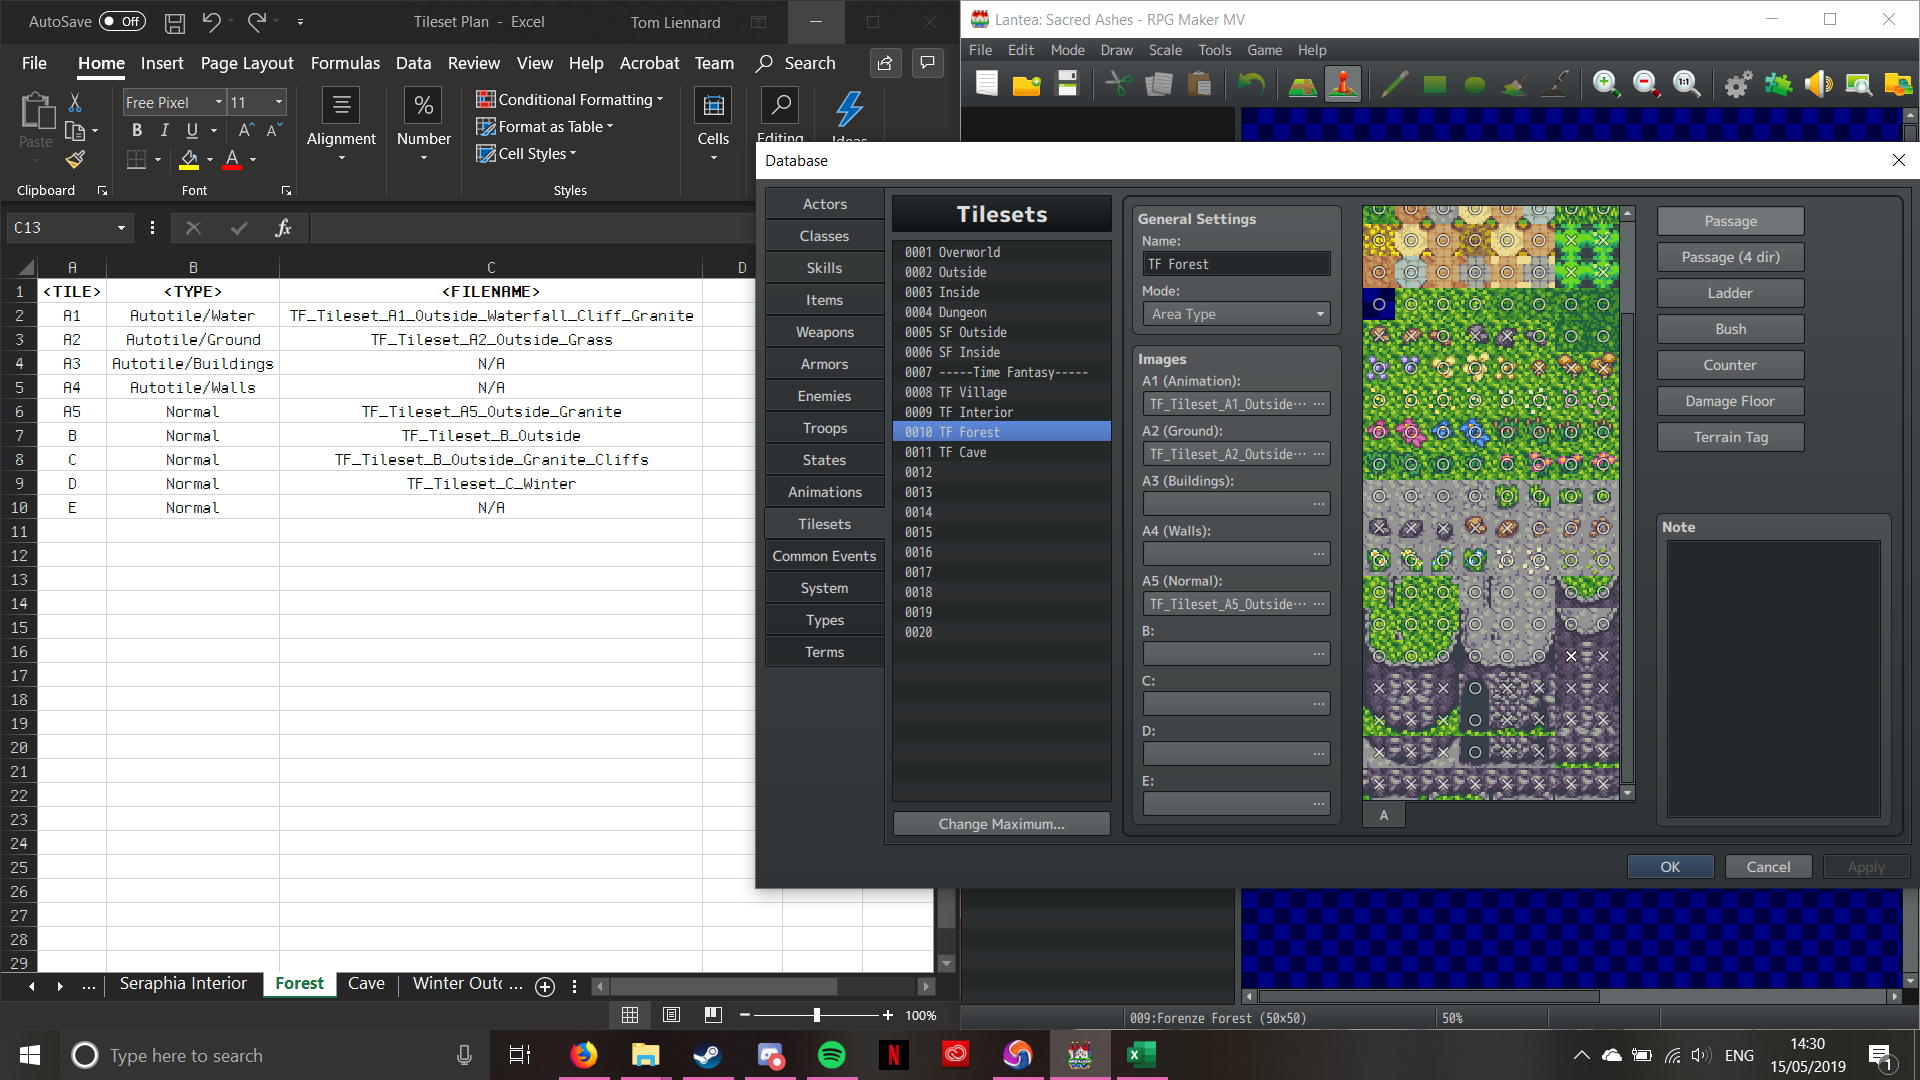
Tileset A5 – Passability
Now onto Tileset B. This one adds a new thing on passability; the ability to walk behind (indicated by a Star). One thing about Tileset B that’s important is that it’s vital to the rest of the tileset. WHATEVER YOU DO, DO NOT REMOVE THE STAR ON THE FIRST TILE!!! That star cntrolls the general passability. If set to Cross, then the player won’t be able to move at all; conversely, setting it to Circle will allow the player to walk on anything, ignoring the noraml passability setting. Leaving it as a star will make the passability work correctly. (A bit odd, isn’t it?). Anyhow, here’s the same process for the B Tileset (don’t forget about the Star passability!):
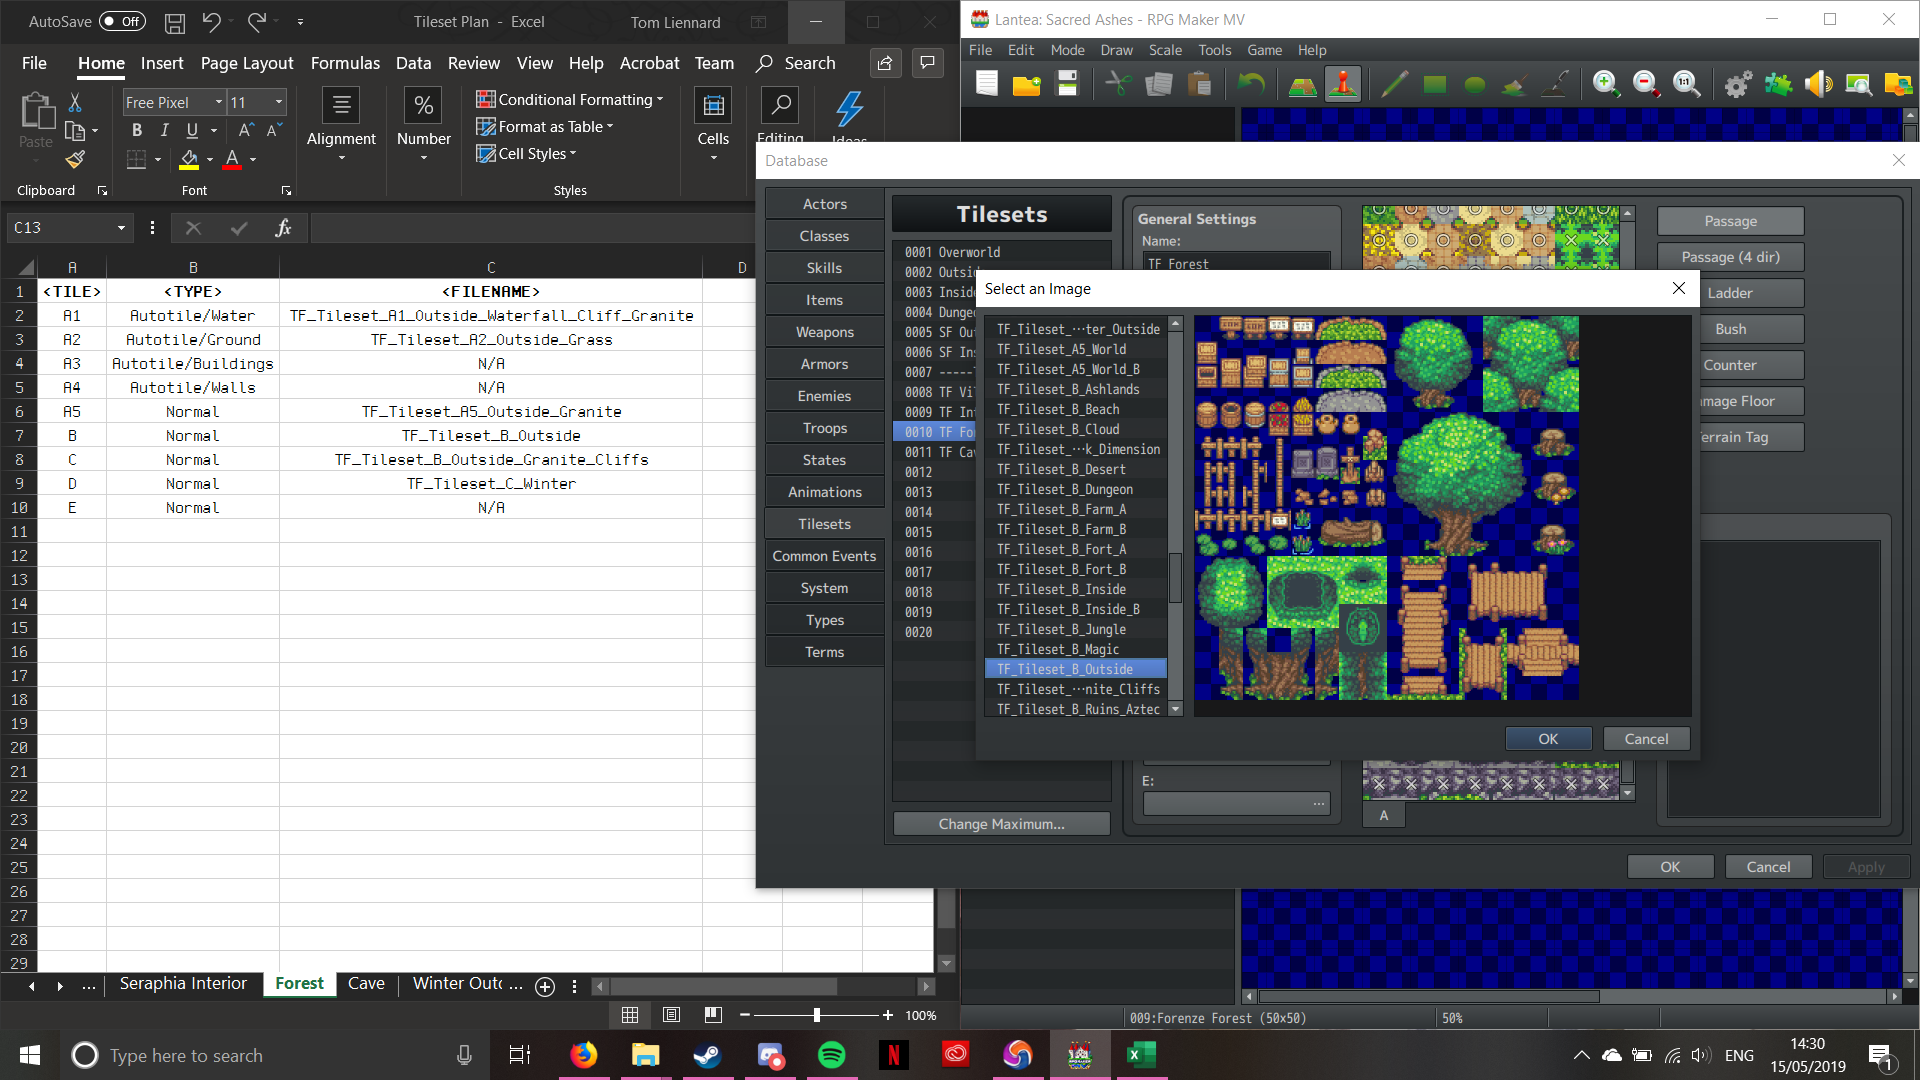
Tileset B – Select Image 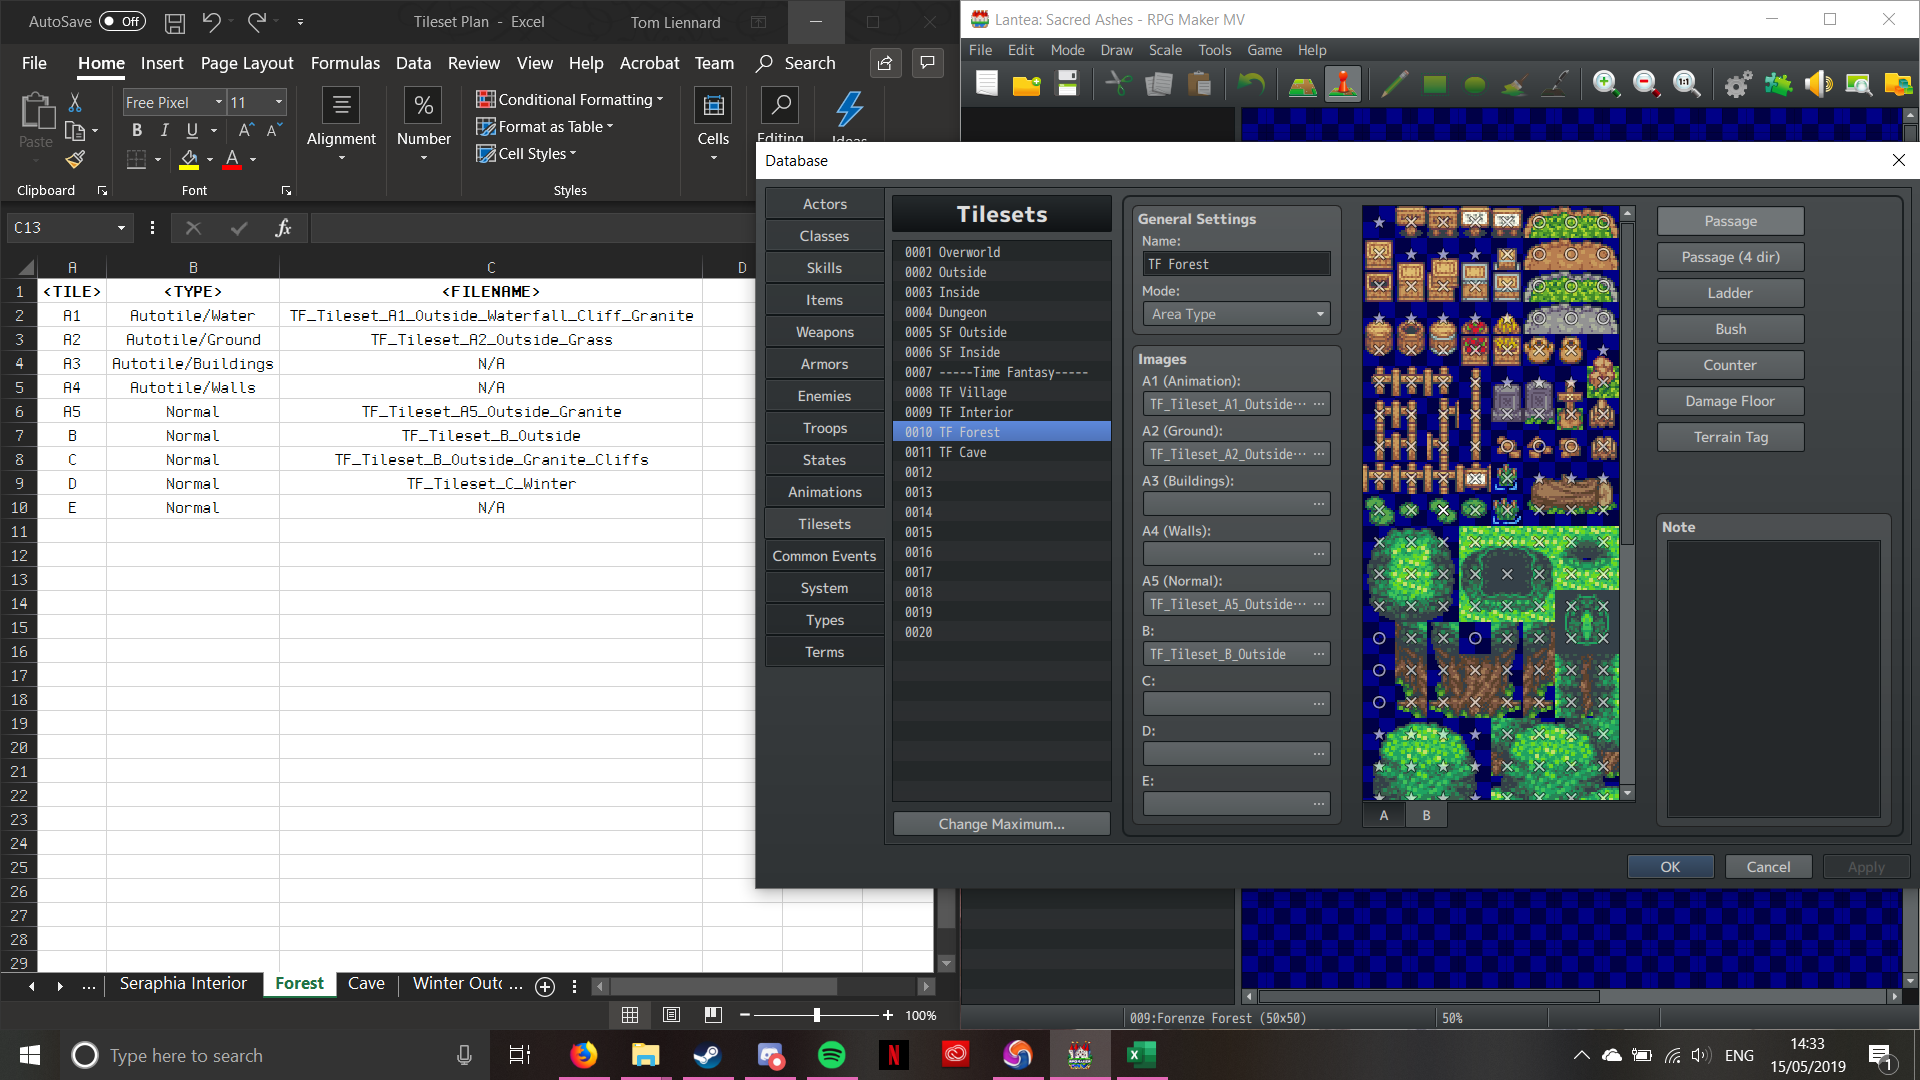
Tileset B – Passability (See the Star in the top left?)
The rest of the tilesets work in the same way, minus the top left Star:
Tileset C – Image Select 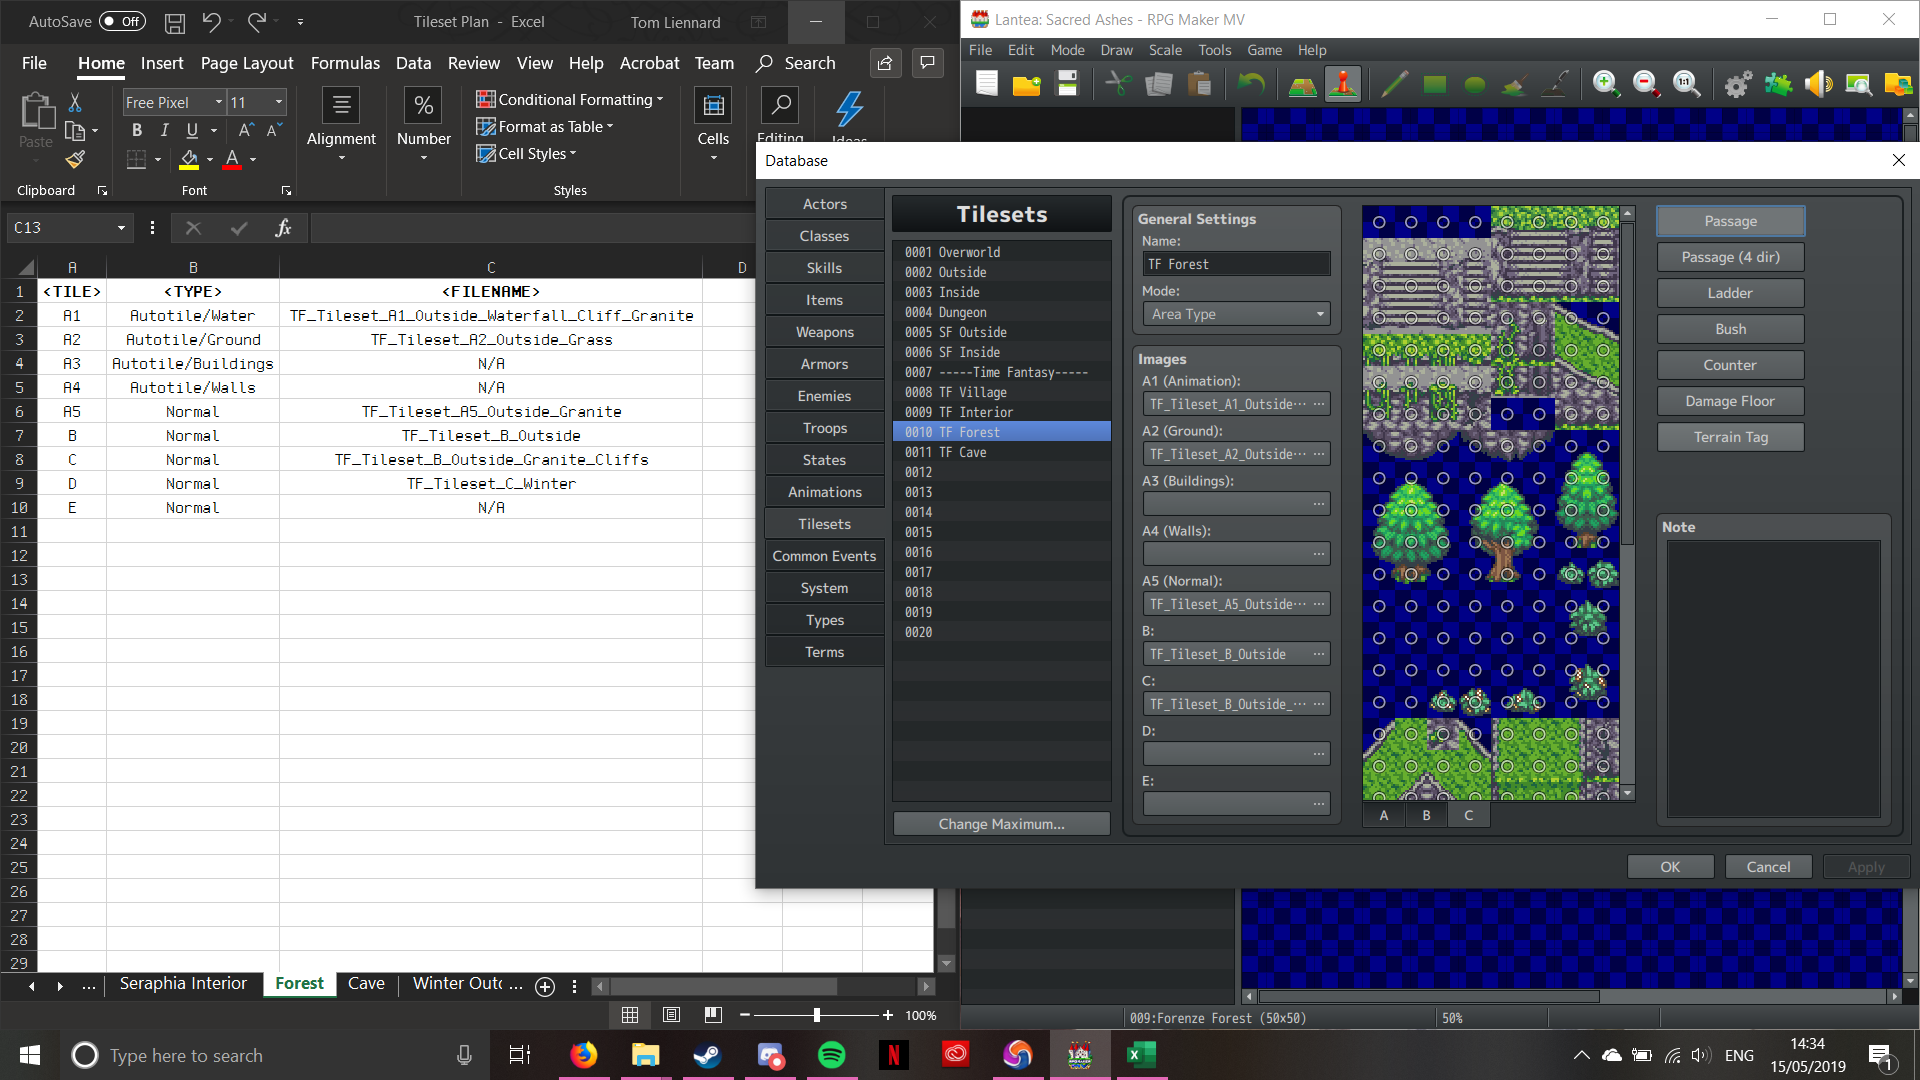
Tileset C – Passability 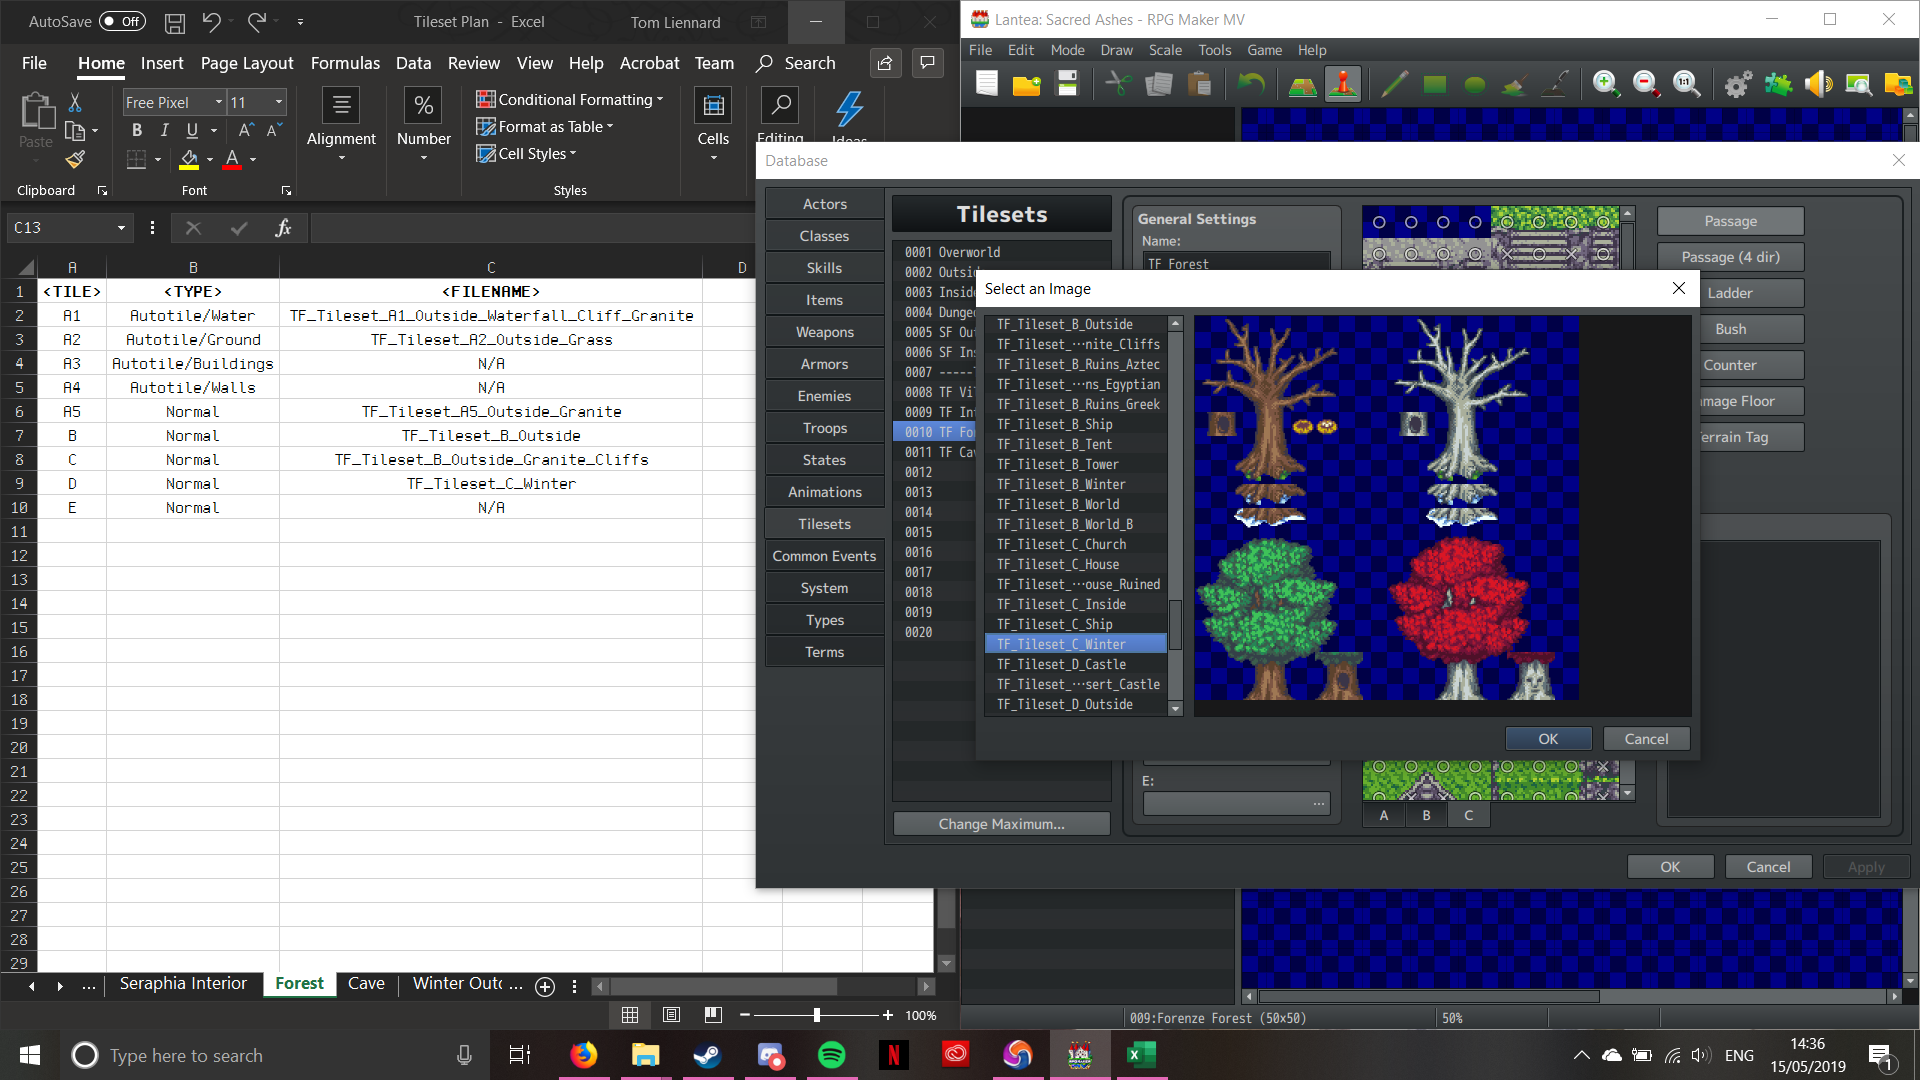
Tileset D – Image Select 
Tileset D – Passability
And there we go! One fully pre-planned, configured Tileset ready for use. This is the proccess I have to go through every time I create a new composite Tileset. It doesn’t half hurt your wrist though with all the clicking! The advantage of this tileset system is that you can re-use tilesets across the project, without having to reconfigure it for every single map. The drawback is the time required to properly set it up (as well as the pain from the clicking).
That’s it for now, and I’ll be back soon with some more stuff!
